Showing posts with label Christmas. Show all posts

Sunday, November 30, 2014

Pom-Pom Christmas Trees

For all of you struggling parents (financially, that is), this is a VERY cheap craft! I spent $2.50 on this craft at Dollar General. We crafted for an entire hour. Getting the attention of small children can be challenging, but this craft allowed us all some quality time together.
 
DOLLAR GENERAL SHOPPING LIST
Bag of Pom-Pom Balls (Price : $1.00)
Pack of Foam Sticker Sheets (Price : $1.00)
Bottle of Dollar General Brand Glue (Price : $.50)
 
Optional : Foam Decorative Stickers (Price : $1.00)
 
 
We learned the hard way the glue DOES NOT work on the foam side! The balls were sliding all over the place.
If you are looking for EASY application, and LESS mess, use the sticky side of the foam sheet.
 
For $2.50, you can't pass up this fun, kid-friendly craft!
 
Looking for more?

Monday, December 24, 2012

Christmas Eve Delights

Christmas Eve is nearing, and the air smells of freshly baked cookies. One of my families traditions that never fails, is a massive amount of cookie baking. When every other tradition fails to happen, the cookie bake-off still stands. Christmas music ringing in our ears, women dancing in the kitchen and deep, masculine voices floating in from the living room couches. With the excitement of little voices finally quiet, we bake. Time for some of my favorite Christmas recipes to appear.

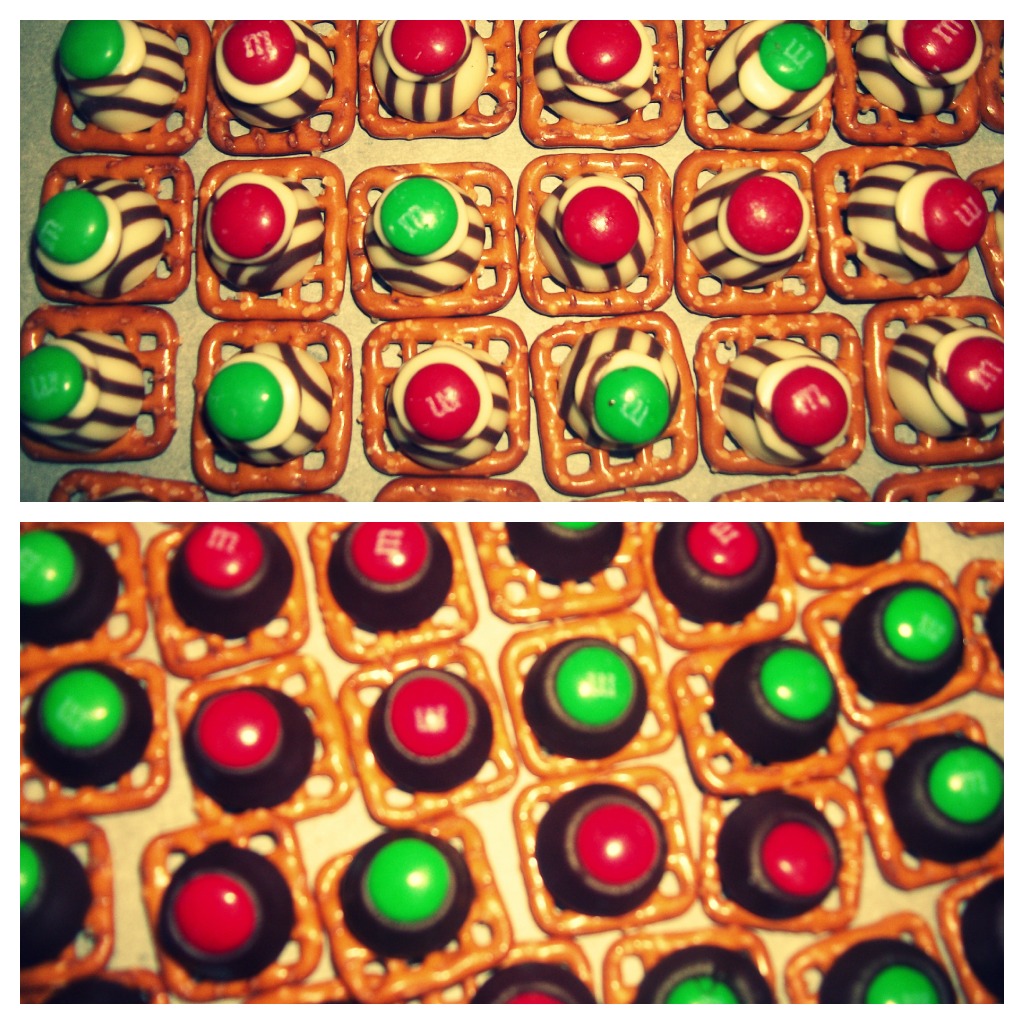
Chocolate Holiday Pretzels

 
Ingredients:
-3(10 oz.) bags of Checkerboard Pretzels
-1 (17 5/8 oz.) bags of holiday M&M's (Red & Green)
-3 (13 oz.) bags of Hershey's Hugs Kisses
-3 (13 oz) bags of Hershey's Chocolate Kisses
 
Cooking Directions:
-Preheat oven to 170 degrees.
-Place unbroken pretzels on wax paper-lined cookie sheets in a single layer.
-Unwrap Hugs, and place one on each pretzel.
Tip: Only one type of Kiss per sheet. Hugs do not take as much time to soften.
-Place the hugs/pretzels in the oven. Hugs: 4 minutes Kisses:5-6 minutes.
-As soon as removed from oven, place M&M's on the top of each kiss/pretzel.
-Place cookie sheet in freezer for 8-10 minutes.
-Repeat until you have the desired amount.
 

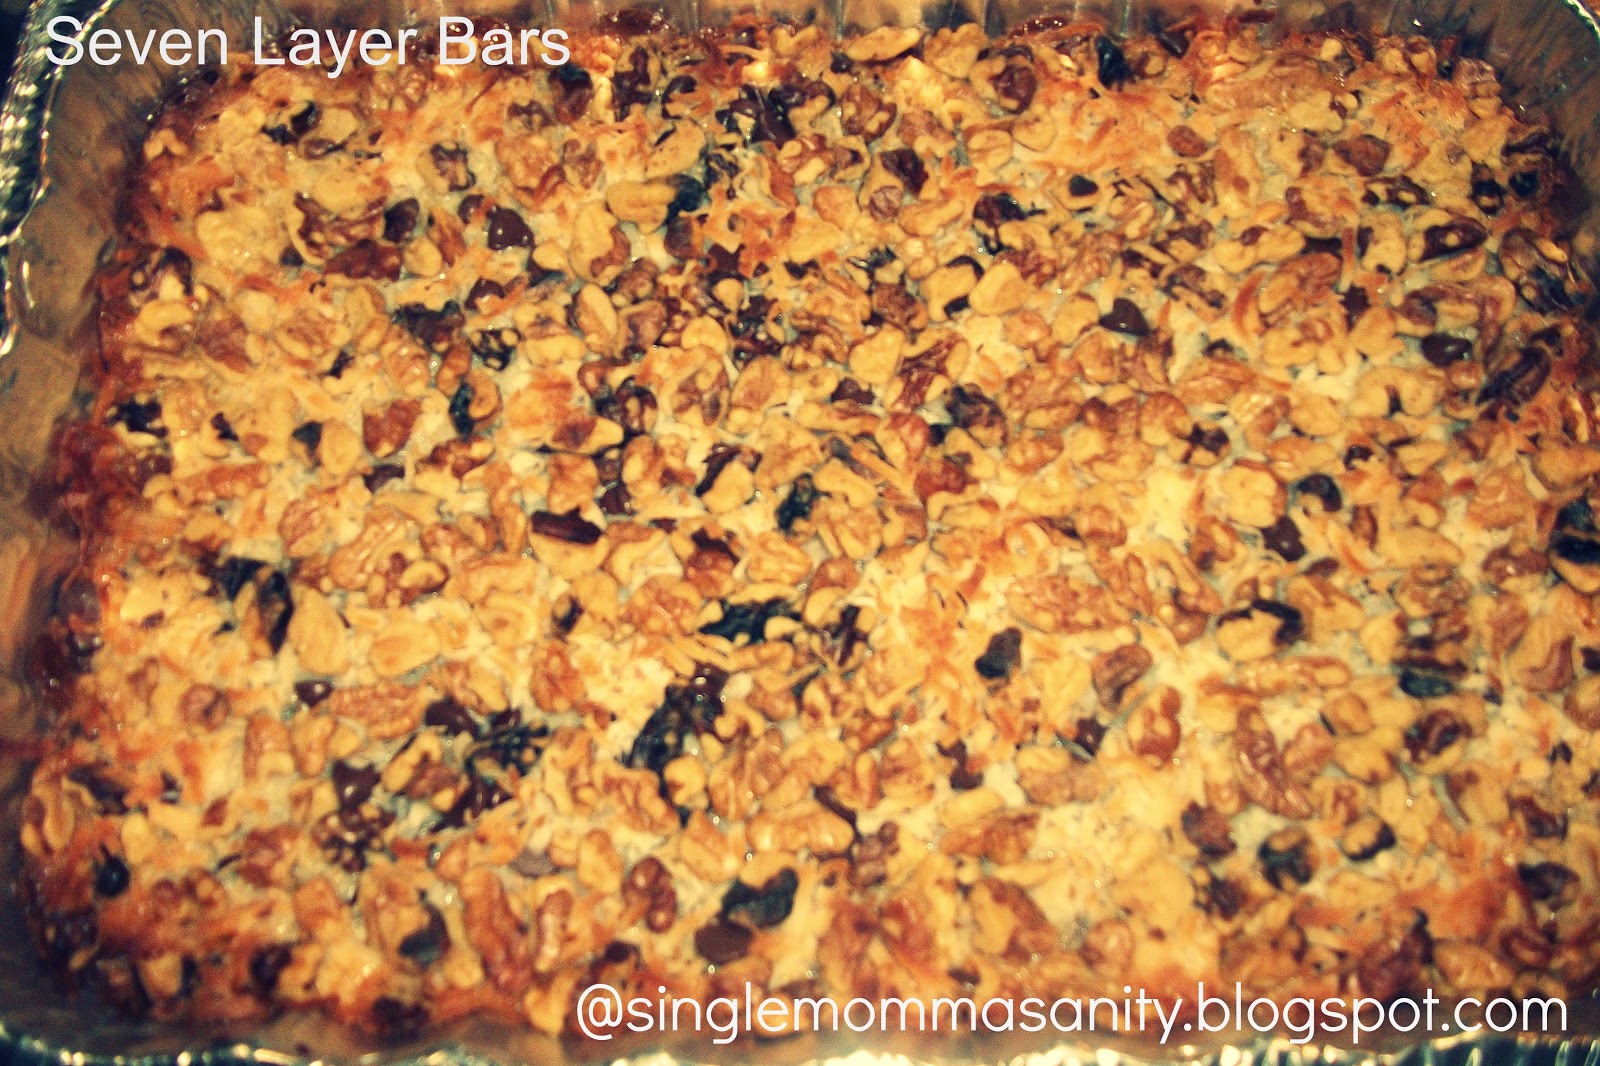
Seven Layer Bars

 
Ingredients:
-1/2 Cup of butter(Melted)
-1 1/2 Cups Graham Cracker Crumbs
-1 (14 oz.) can Eagle Brand Sweetened Condensed Milk
-1 Cup Butterscotch morsels
-1 Cup Semisweet Chocolate Morsels
-1 1/3 Cups Flaked Coconut
-1 Cup Chopped Walnuts
 
Cooking Directions:
-Heat oven to 350 degrees(325 for glass dishes).
-Coat 13X9-in. baking pan with Pam Spray.
-Combine Graham Cracker Crumbs and melted butter.
-Press the mixture into the bottom of the pan.
-Pour sweetened condensed milk on top of the graham cracker crumb/butter mixture.
-Layer chocolate chips, butterscotch chips, coconut and nuts evenly on top of the sweetened condensed milk.
-Press down firmly with a fork.
-Bake 25 minutes or until lightly browned.
-Cool the layer bars, and then cut into bars or diamonds.
-Store at room temperature.
 

Rasberry Jam Thumbprint Cookies

 
Ingredients:
1 pouch Betty Crocker sugar cookie mix (1 lb 1.5 oz.)
-1/2 Cup Butter(Softened)
-1 Egg
-3 Tbsp. All-Purpose Flour
-1/3 Cup Seedless Rasberry Jam
-1 Cup White Vanilla Baking Chips
 
Cooking Directions:
-Heat oven to 375 degrees.
-In large bowl, stir cookie mix, butter, egg, and flour until dough forms.
-Roll dough into 3/4 inch balls.
-Place about 2 inches apart on an ungreased cookie sheet.
-Using your thumb, make an indentation in the center of each cookie.
-Spoon 1/4 teaspoon jam(maybe a little more) into each indentation.
-Bake cookies 8 to 10 minutes. Cool for 5 minutes.
-In a small microwavable bowl, microwave baking chips on High 1 to 2 minutes or until the chips have melted.
-Pour the melted chips into a small resealable plastic bag.
Cut a hole on one bottom corner of the bag, and squeeze gently onto the cooled cookies.


The kids are fast asleep, and Santa has already ate his cookies, drank his milk, and let his reindeer eat their food (Oats with red and green pellet sprinkles) that the children provided. He also wrote them a letter back, and he is now working on stockings, and placing the presents under the tree. Merry Christmas Eve everyone.

Thursday, December 20, 2012

Construction Paper Christmas Crafts

Christmas might be just around the corner, but crafting is at large! From homemade salt dough ornaments, to homemade wreaths, we are all crafting. I have decided to make a blog about Christmas Crafts made strictly out of construction paper. As we all know, construction paper has endless possibilities. You can envision something, and create it. I came up with these Peek-A-Boo Christmas cards one night before going to sleep, and they came out adorable!
-Construction Paper
-Glue
-Scissors
-Peach crayon
-Red Crayon

The Head:
To make this I used red, yellow, black, and white construction paper. I made the hat first, and glued the head behind the hat. I took my face cut out, and colored it with a peach crayon to give the face some extra color. For the beard, I took my face cut out, and sketched a classic Santa beard(Everyone knows the Classic Santa beard is edgy, not fluffy like cotton balls.) around it. I cut the beard out, and glued it behind the head.

The Body:
For the body I used a whole piece of red construction paper. I took a white piece of construction paper, and folded it in half twice. I cut out one of the four squares for the belly area, which is white so that it can be edited. I glued the 1/4 piece of white construction paper on the full red one. I sketched a mitten shape on the red paper, and used that as my cut-out guide. I cut along the side edges of the white paper, but not the bottom, so that I could add a belt. The belt is just a black piece of construction paper, with a yellow construction paper buckle.

My little ones absolutely adored this craft, and I plan on making more for them to decorate the bellies to give out to family members. Handmade gifts by little ones are the most cherishable gifts one can receive.

 The Famous Hand Wreath

 
This creation is pretty self explanatory, and I'm sure most have seen it before. I did add a bit of my own flavor, as people usually do. I have two small children, so I alternated their hand cut-outs. We also made a bow out of red construction paper with construction paper leaves attached. To add a more texturized look, we used brown crayon within the bow, and leaves. It turned out beautifully!
 

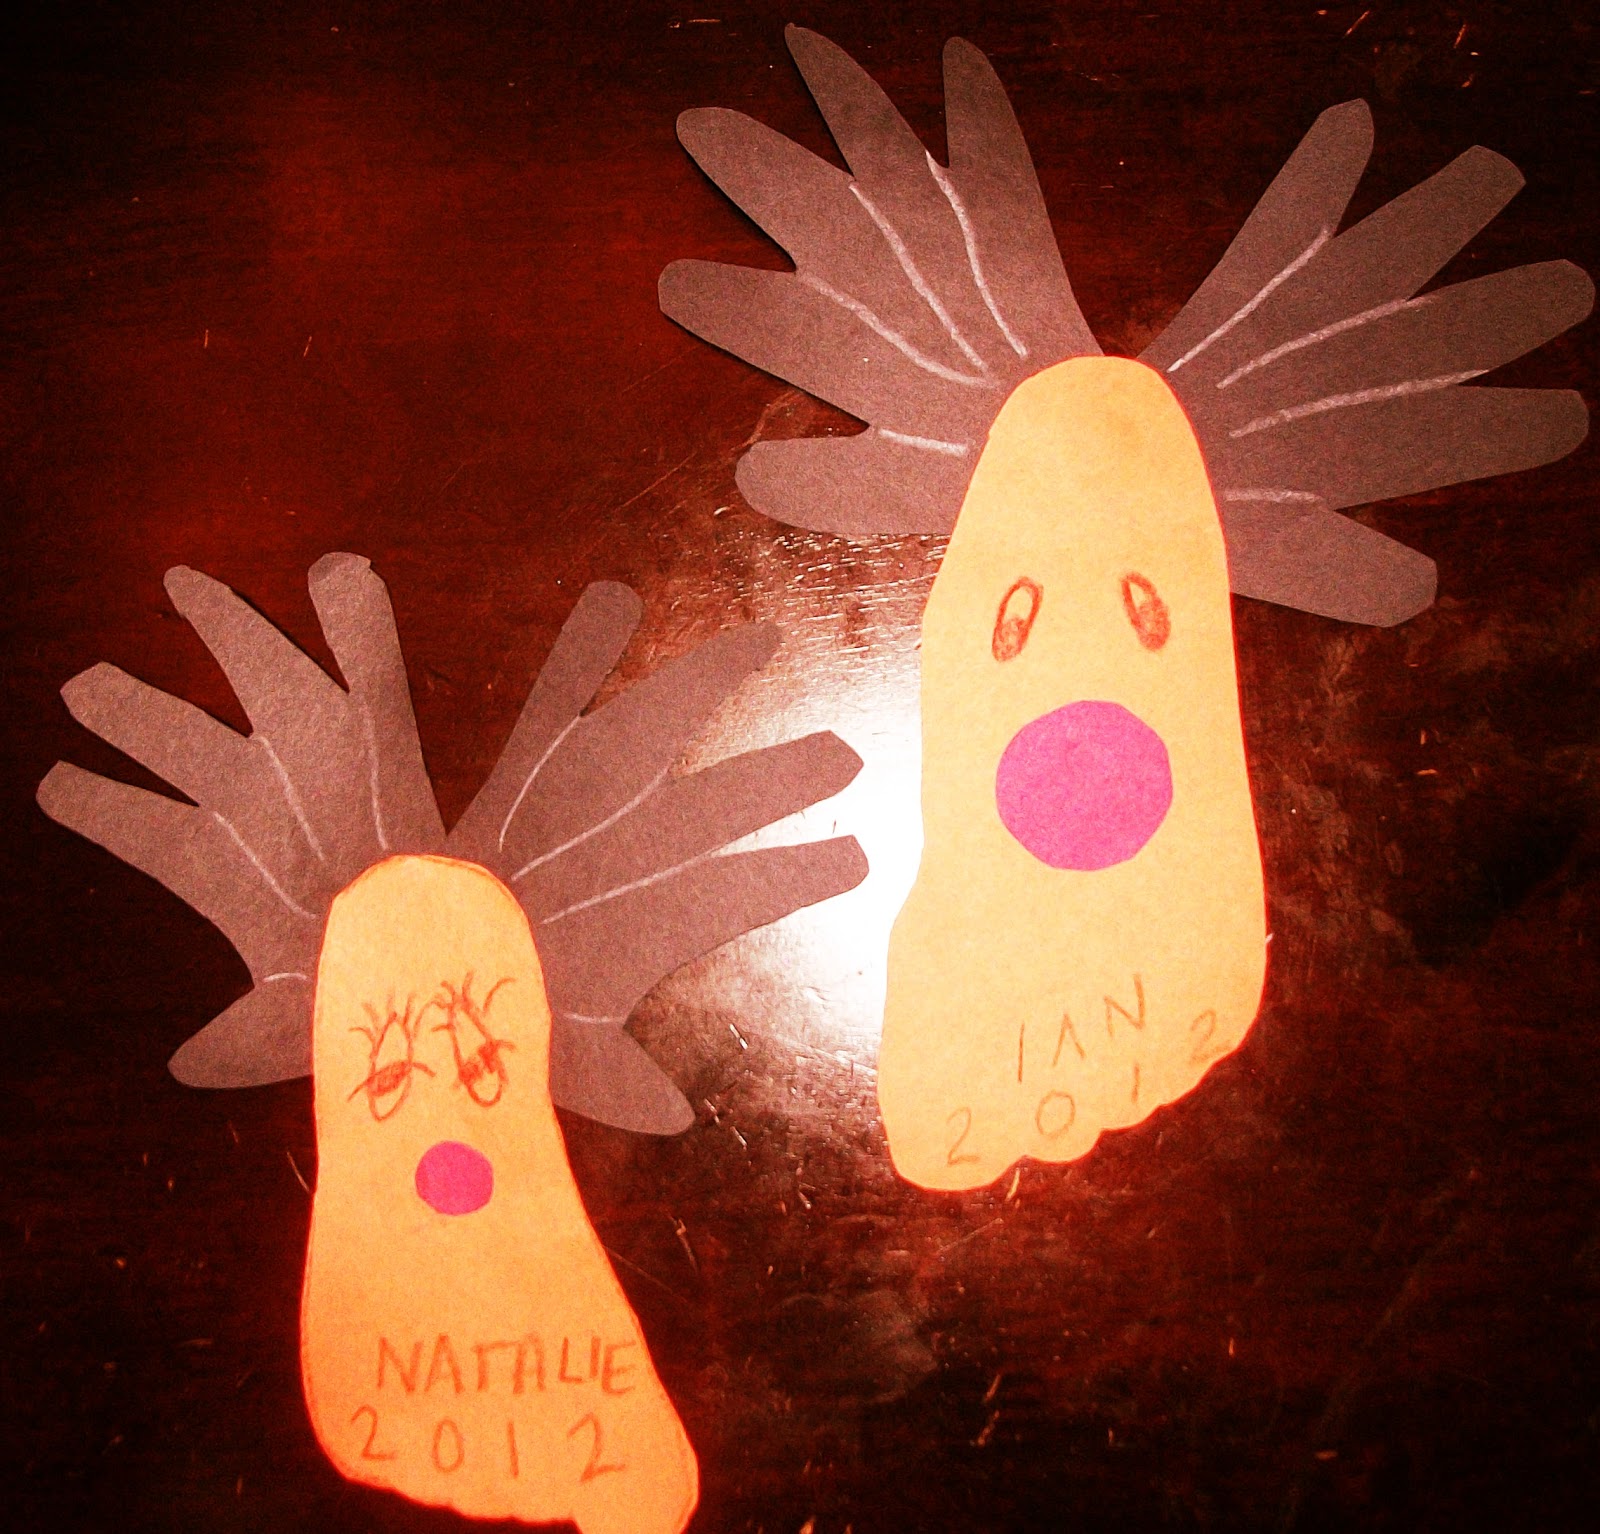
Hands & Feet Reindeer

 
I absolutely love these reindeers, they are adorable. With young ones it's hand to trace hands and feet because they just can't seem to sit still, but once you have a single template your set! I want to start a "Hands & Feet Reindeer" tradition, and watch as the reindeer grow along with my children. Hopefully, this will be something they remember, and pass along to their children.
 
 
These Christmas crafts are purely construction paper, and I am so proud of them.
Hope I've inspired you to get creative with your little ones!
 
I will be hosting a giveaway of handmade hairbows, and handbands by myself in 2 weeks, so don't forget to come back!


Saturday, December 15, 2012

Christmas Themed Photography Advice Among Some Other Things

I am a very active "pinterester". I found some pictures that I just absolutely loved, and I had the perfect model. Meet Shayleigh, she is the adorable 9 month old that I nanny.
 
Camera: Kodak EasyShare CD82, so for all of you with cameras that are not so high tech, do not fret.
 
Photo Editing Software: PicMonkey Free, and available online. 
 
First photo: I'm sure you guys are wondering why on earth I used orange lights instead of white, which happens to be the norm for these kinds of photos. It just so happens that ALL of our white lights are on display. We have them residing on the tree, stairwell, outside bushes, and posts for the season. The picture still turned out beautiful, and festive. I always edit my photos, but this one was uneditable. It was perfect just the way it was taken.


 
Second Photo: I found some Christmas tree picture advice on Pinterest, and decided to give it a-go. On top of the advice, I have her wearing a small santa hat, and she is sitting inside a red and white stocking. The advice I was given was to set small children off to the side of the tree with natural light coming from behind the tree. Tip: Daytime Christmas tree photos come out with better quality than night time photos. Editing at PicMonkey: I used the Cross Process option, and just added a simple black and white frame.
 
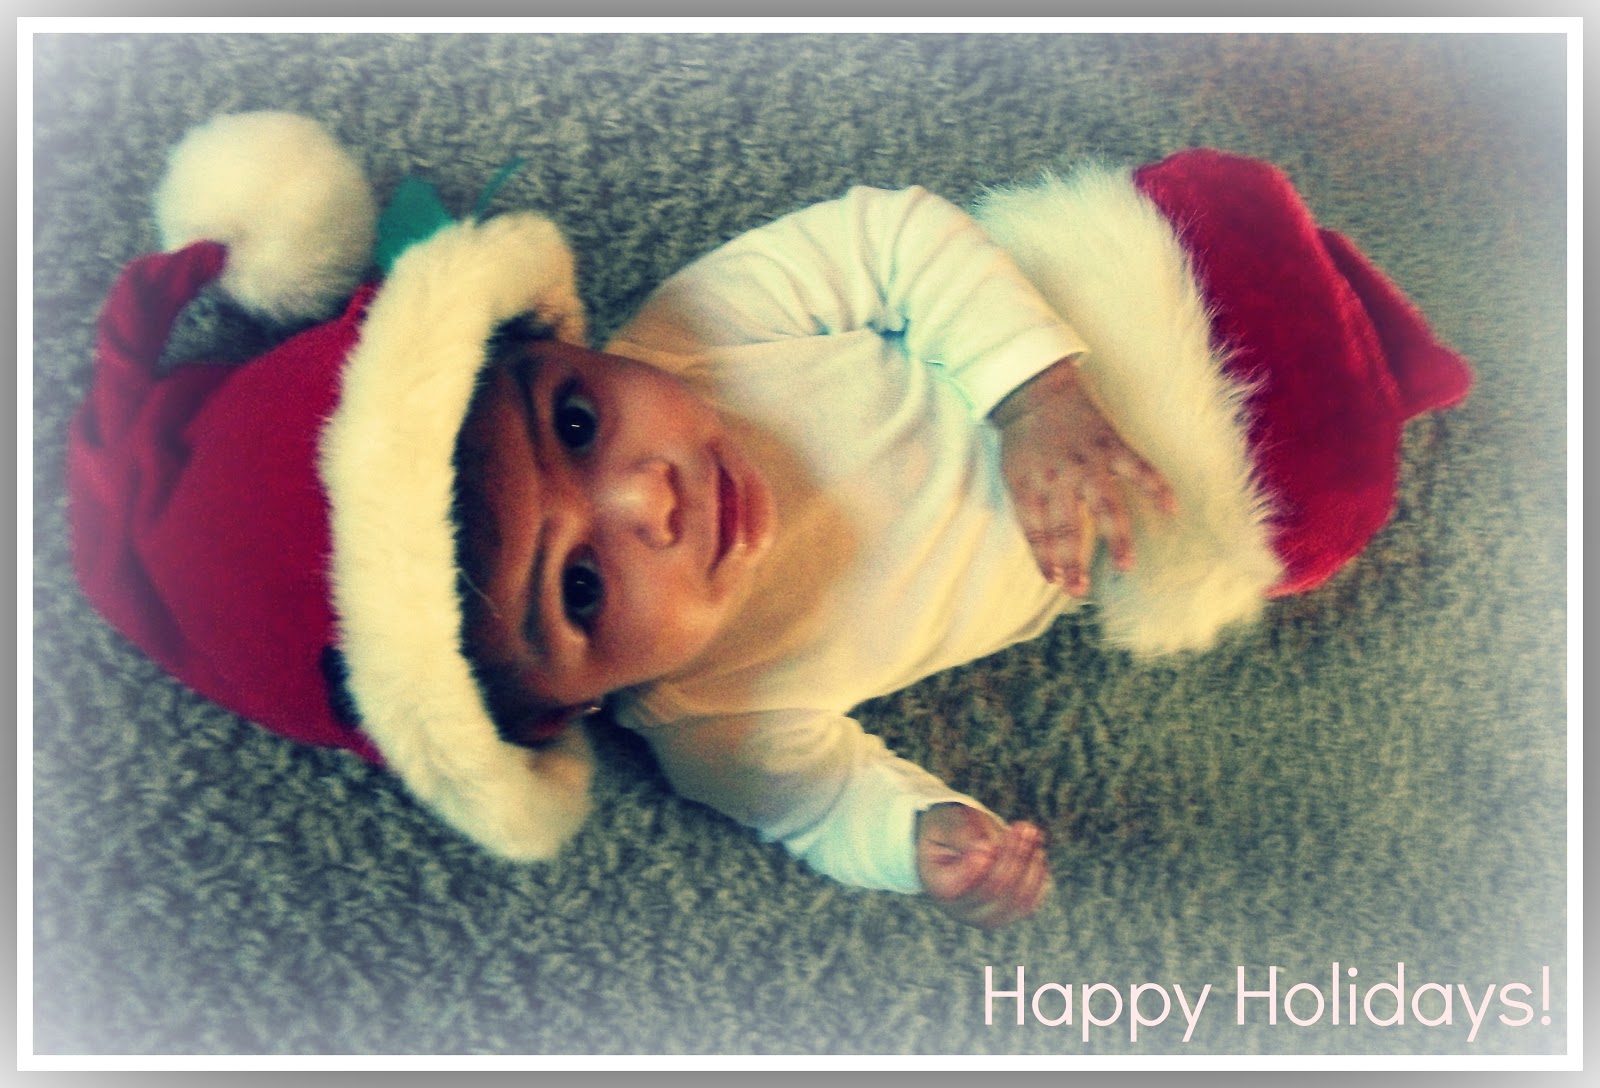
Third Photo:
Again, she is in the stocking and Santa hat, but I just LOVE this picture. I took this picture with natural light behind me. I bent down, and took the picture somewhat above her. For editing I used Cross Process, and the Frost option in their seasonal folder. I added "Happy Holidays!" in the text box, and popped it at the bottom of the photo.


Tomorrow's blog will be featuring some of my picks for freezer meals. Everyone loves time-savers!
 

Thursday, November 29, 2012

Portable North Pole - Real Life Santa Videos


As Christmas is nearing, our little Santa believers are becoming very anxious! Portable North Pole offers an amazing video personalized just for your little ones. Not only is the video amazing, but it is free. You can purchase the HD quality video for download for only $6.99. I purchased the above video, and it is the exact same video you receive free, just downloadable and in HD. Both of my children will get to view their videos from Santa today, I'm just hoping they are as excited as I am. "Keep the magic alive!"

 
My 3 year old's reaction to this video:


My 23 month old's reaction to the video: