Friday, December 28, 2012

Can You Say Sweet Tooth?


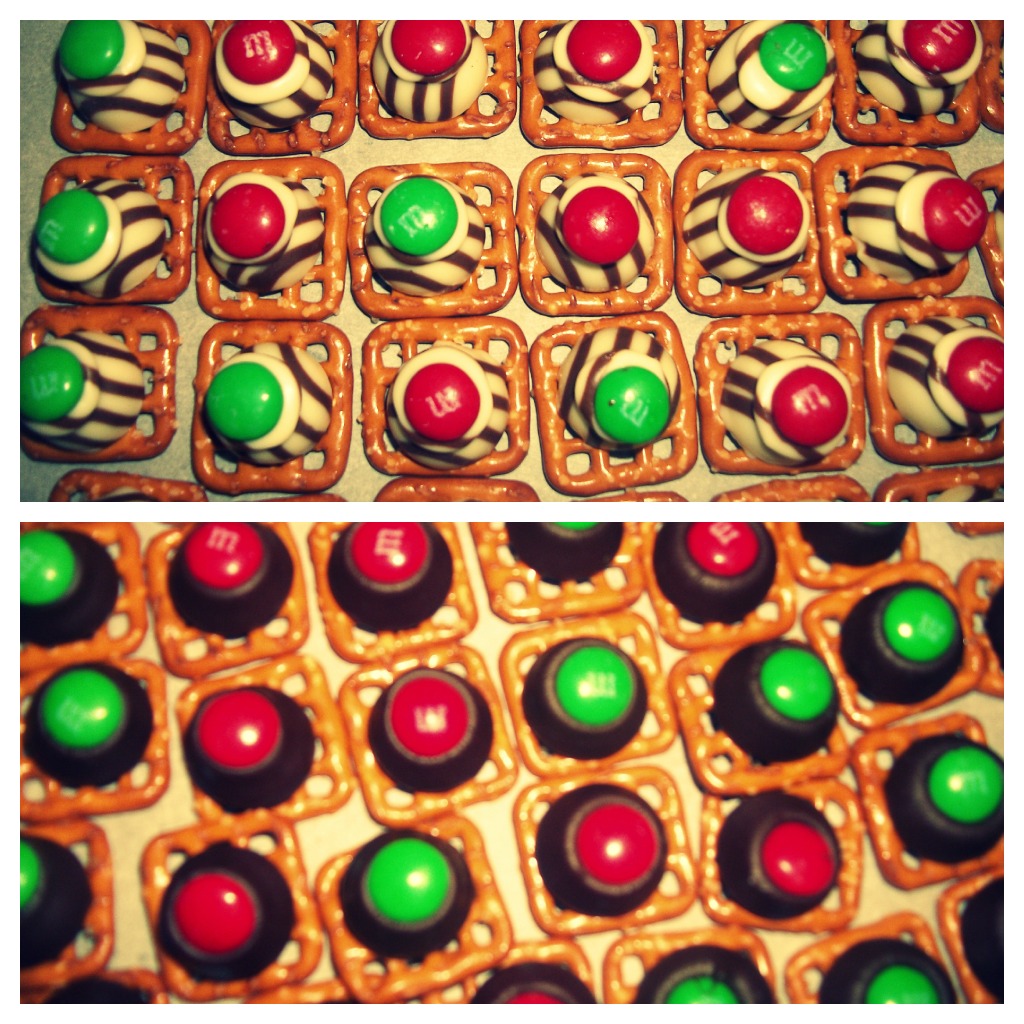
The Infamous Buckeyes!


We make these every year, as we once called the Buckeye State home. They are very sweet, but delish! They are always a hit, especially with the huge "sweet tooths" out there.
 
Ingredients:
-1 1/2 Cups of Peanut Butter
-1 Cup Butter(Softened)
-1/2 Teaspoon Vanilla Extract
-6 Cups of Confectioners Sugar
-4 Cups Semisweet Chocolate Chips
 
Cooking Instructions:
-Mix together peanut butter, vanilla, butter, and confectioners sugar.
-Roll into 1 inch balls & place on a wax-lined cookie sheet.
-Melt chocolate chips in a double boiler
-Dip peanut butter balls into the chocolate with a toothpick. (They say this is easier if the peanut butter balls are set in the freezer for 30 minutes, but I have always just dipped them in the chocolate right after.)
-Place the dipped buckeyes back on the wax-lined cookie sheet, and there you have it, BUCKEYES!


Cream Cheese Cut Outs


Ingredients:
-8 oz. of Cream Cheese(Softened)
-2 Cups Of Sugar
-1/2 Teaspoon of Vanilla
-2 Cups of Butter(Softened)
-4 Cups of Flour
-Cookie Icing
 
Prepping Instructions:
-Soften the butter and cream cheese in the microwave
-Mix all of the ingredients together, minus the Cookie Icing of course;)
-Once thoroughly mixed, chill in the fridge for 2 hours in a covered container
-Once the dough is done chillin', it's ready to roll out(about 1/4 inch thick) and apply the cookie cutters.
 
Cooking Instructions:
Bake at 350 inbetween 10-12 minutes.


Sweet & Extra Cheesy Sausage Balls


You know I had to add another freezer meal, since these turned out to be so delicious.
 
Ingredients:
-1 lb. Jimmy Dean Maple Sausage
-2 Cups Taco Style Cheese, Mozarella, and Cheddar Cheese Mixed Up
-1/2 Can of Cream of Mushroom (I believe the size is 10 3/8 oz.)
-3 Cups Bisquick
Prepping Instructions:
-Thoroughly mix/beat all of the ingredients together.
-Make 1 inch balls out of the mixture.

Cooking Instructions:
-Bake at 350 for 25 minutes
-Let the item cool, and freeze or eat, whichever you prefer!
 
 
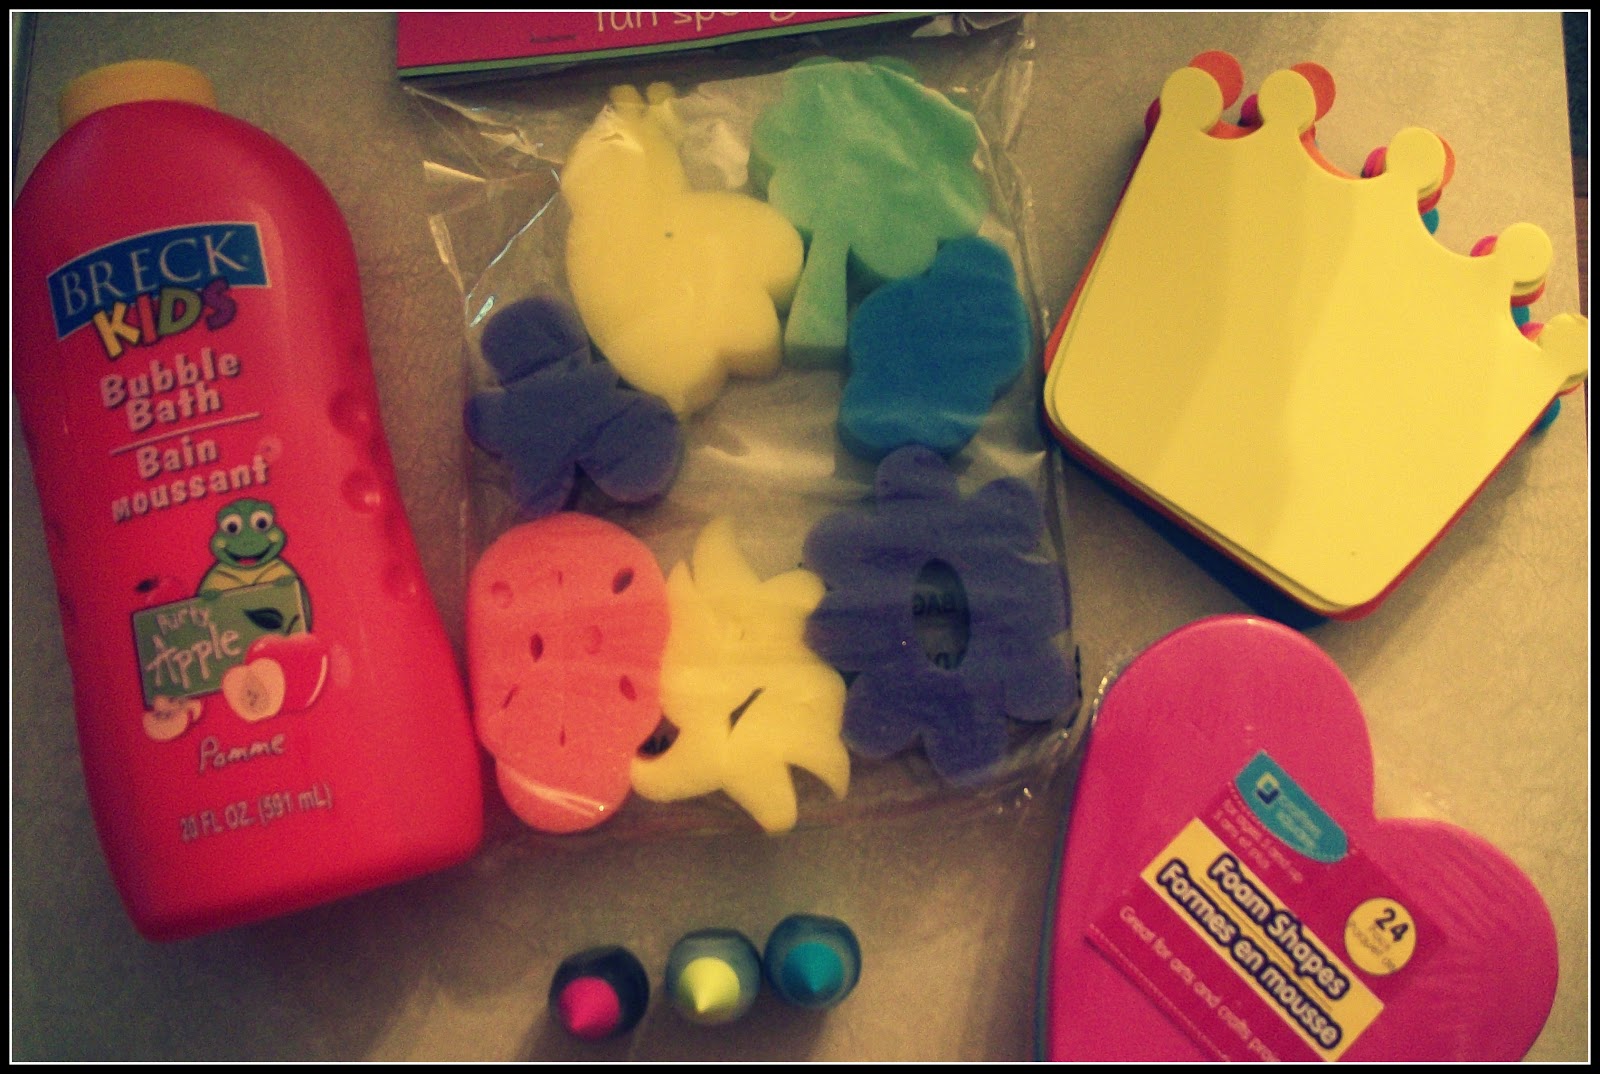
Today I felt as if the kids were literally hanging from my bra straps, so we had to throw in some sensory play to our day. I gave them sponges, cups, measuring cups, cookie cutters and eventually a dish brush to clean the cutters. Kids absolutely love imitating adults, so when I gave them the dish brush, they were head over heels with the kitchen sink.
 
On top of bra strap hanging, I pulled a mommy no-no today. I gave the little ones a bath with bath crayons, sponges, and growing bath gel caps and then sent them downstairs to cut out cookies. They were covered from head to toe in flour, and their fingers were caked with dough. Needless to say, we had a fun but eventful day.
 
Tonight, my (sarcastic voice chimes in here) generous brother is helping me prepare a marble run to occupy the kids tomorrow, stay posted for the outcome. :)

Don't forget to come back January 7th for my headband/hairband giveaway. They are too cute to pass up!
 

Also, don't forget to check out my sponsor! Connect with your facebook, and earn rewards towards shopping! The deals they have are amazing! If you love to shop this is definitely the place for you.

Monday, December 24, 2012

Christmas Eve Delights

Christmas Eve is nearing, and the air smells of freshly baked cookies. One of my families traditions that never fails, is a massive amount of cookie baking. When every other tradition fails to happen, the cookie bake-off still stands. Christmas music ringing in our ears, women dancing in the kitchen and deep, masculine voices floating in from the living room couches. With the excitement of little voices finally quiet, we bake. Time for some of my favorite Christmas recipes to appear.

Chocolate Holiday Pretzels

 
Ingredients:
-3(10 oz.) bags of Checkerboard Pretzels
-1 (17 5/8 oz.) bags of holiday M&M's (Red & Green)
-3 (13 oz.) bags of Hershey's Hugs Kisses
-3 (13 oz) bags of Hershey's Chocolate Kisses
 
Cooking Directions:
-Preheat oven to 170 degrees.
-Place unbroken pretzels on wax paper-lined cookie sheets in a single layer.
-Unwrap Hugs, and place one on each pretzel.
Tip: Only one type of Kiss per sheet. Hugs do not take as much time to soften.
-Place the hugs/pretzels in the oven. Hugs: 4 minutes Kisses:5-6 minutes.
-As soon as removed from oven, place M&M's on the top of each kiss/pretzel.
-Place cookie sheet in freezer for 8-10 minutes.
-Repeat until you have the desired amount.
 

Seven Layer Bars

 
Ingredients:
-1/2 Cup of butter(Melted)
-1 1/2 Cups Graham Cracker Crumbs
-1 (14 oz.) can Eagle Brand Sweetened Condensed Milk
-1 Cup Butterscotch morsels
-1 Cup Semisweet Chocolate Morsels
-1 1/3 Cups Flaked Coconut
-1 Cup Chopped Walnuts
 
Cooking Directions:
-Heat oven to 350 degrees(325 for glass dishes).
-Coat 13X9-in. baking pan with Pam Spray.
-Combine Graham Cracker Crumbs and melted butter.
-Press the mixture into the bottom of the pan.
-Pour sweetened condensed milk on top of the graham cracker crumb/butter mixture.
-Layer chocolate chips, butterscotch chips, coconut and nuts evenly on top of the sweetened condensed milk.
-Press down firmly with a fork.
-Bake 25 minutes or until lightly browned.
-Cool the layer bars, and then cut into bars or diamonds.
-Store at room temperature.
 

Rasberry Jam Thumbprint Cookies

 
Ingredients:
1 pouch Betty Crocker sugar cookie mix (1 lb 1.5 oz.)
-1/2 Cup Butter(Softened)
-1 Egg
-3 Tbsp. All-Purpose Flour
-1/3 Cup Seedless Rasberry Jam
-1 Cup White Vanilla Baking Chips
 
Cooking Directions:
-Heat oven to 375 degrees.
-In large bowl, stir cookie mix, butter, egg, and flour until dough forms.
-Roll dough into 3/4 inch balls.
-Place about 2 inches apart on an ungreased cookie sheet.
-Using your thumb, make an indentation in the center of each cookie.
-Spoon 1/4 teaspoon jam(maybe a little more) into each indentation.
-Bake cookies 8 to 10 minutes. Cool for 5 minutes.
-In a small microwavable bowl, microwave baking chips on High 1 to 2 minutes or until the chips have melted.
-Pour the melted chips into a small resealable plastic bag.
Cut a hole on one bottom corner of the bag, and squeeze gently onto the cooled cookies.


The kids are fast asleep, and Santa has already ate his cookies, drank his milk, and let his reindeer eat their food (Oats with red and green pellet sprinkles) that the children provided. He also wrote them a letter back, and he is now working on stockings, and placing the presents under the tree. Merry Christmas Eve everyone.

Saturday, December 22, 2012

Piggy Princess Birthday Party Theme

 
My little girl was born 4 days before Christmas, so needless to say, our holidays are a very hectic time. Her Mimi(Grandma) calls her a "Piggy Princess", because she snorts. She talks about piggies, and princesses all the time, so we decided to throw her a "Piggy Princess" Birthday Party. She was absolutely ecstatic about the piggies everywhere! For anyone who wants to throw a "Piggy Princess" party, here are some ideas:
 
 
I got everything from Wal-Mart. A hanging Princess castle($4.47), animal face balloons($3.97), Sugar Sheets for the cake(2 @ $3.50), napkins, pink plates, designed pink plates, candles, streamer($0.97). I spent a little over 20 dollars to throw a piggy party. The napkins I customized with a pig made out of construction paper. I made 7 out of the 20 napkins, pig decorated. Oh, and I bought a white tablecloth that I completely forget to use, while rushin' to get everything ready. I also bought a magic wand for her, so she'd feel like a princess. I only found one tiara, and it was an Ariel one, so I didn't buy it.
 
 
The Cake:
-Sugar Sheets from Wal-Mart
-Pillsbury Strawberry Mist Frosting
 -Betty Crocker Chocolate Fudge Cake Mix
-CakeMate Writing Gel
 I baked two cakes in 8 in. circle pans, and frosted the cake, and added the sugar sheets after cutting the shapes I needed to cover the cake. I used the Cake Mate Writing Gel in black, white & red to draw the pig face.
The ears of the pig are a funny story. The sugar sheets were breaking apart easily, and had to stick to frosting. With no cake left, I had to find something to put frosting on, so I could wrap it in sugar sheets. I couldn't find a single thing that was triangular in shape, so I ended up piecing 3 square pretzels together with frosting to form the triangle. I then proceeded to wrap the frosting covered pretzels with the sugar sheets. It was definitely interesting, and a task at that. I'm sure there was an easier way to do this, but I had to use what I had on hand.
 
 
I hope you enjoyed our Piggy Princess Birthday Party theme! :)


Thursday, December 20, 2012

Construction Paper Christmas Crafts

Christmas might be just around the corner, but crafting is at large! From homemade salt dough ornaments, to homemade wreaths, we are all crafting. I have decided to make a blog about Christmas Crafts made strictly out of construction paper. As we all know, construction paper has endless possibilities. You can envision something, and create it. I came up with these Peek-A-Boo Christmas cards one night before going to sleep, and they came out adorable!
-Construction Paper
-Glue
-Scissors
-Peach crayon
-Red Crayon

The Head:
To make this I used red, yellow, black, and white construction paper. I made the hat first, and glued the head behind the hat. I took my face cut out, and colored it with a peach crayon to give the face some extra color. For the beard, I took my face cut out, and sketched a classic Santa beard(Everyone knows the Classic Santa beard is edgy, not fluffy like cotton balls.) around it. I cut the beard out, and glued it behind the head.

The Body:
For the body I used a whole piece of red construction paper. I took a white piece of construction paper, and folded it in half twice. I cut out one of the four squares for the belly area, which is white so that it can be edited. I glued the 1/4 piece of white construction paper on the full red one. I sketched a mitten shape on the red paper, and used that as my cut-out guide. I cut along the side edges of the white paper, but not the bottom, so that I could add a belt. The belt is just a black piece of construction paper, with a yellow construction paper buckle.

My little ones absolutely adored this craft, and I plan on making more for them to decorate the bellies to give out to family members. Handmade gifts by little ones are the most cherishable gifts one can receive.

 The Famous Hand Wreath

 
This creation is pretty self explanatory, and I'm sure most have seen it before. I did add a bit of my own flavor, as people usually do. I have two small children, so I alternated their hand cut-outs. We also made a bow out of red construction paper with construction paper leaves attached. To add a more texturized look, we used brown crayon within the bow, and leaves. It turned out beautifully!
 

Hands & Feet Reindeer

 
I absolutely love these reindeers, they are adorable. With young ones it's hand to trace hands and feet because they just can't seem to sit still, but once you have a single template your set! I want to start a "Hands & Feet Reindeer" tradition, and watch as the reindeer grow along with my children. Hopefully, this will be something they remember, and pass along to their children.
 
 
These Christmas crafts are purely construction paper, and I am so proud of them.
Hope I've inspired you to get creative with your little ones!
 
I will be hosting a giveaway of handmade hairbows, and handbands by myself in 2 weeks, so don't forget to come back!


Wednesday, December 19, 2012

Sensory Playtime!

 
We used baby lotion, and various cars in this sensory bin.
 
As your children get older you will start to notice how much they start using their hands. The best way to get them in complete sense of their touch is through sensory play. Sensory play is used in Preschool's and Kindergarten classes worldwide. Sensory play knows no boundaries, it's a wonderful way to learn. My most favorite thing about sensory bins, is it keeps kids busy for hours. Thats enough time to get a whole house clean, plus a couple loads of laundry. ;) It's a known fact that a mother with a clean house and busy, happy kids has less stress.
 

Sensory Bin Ideas

Construction Site - Sand/Dirt, small construction vehicles, some action figures, small construction cones, plastic trees, tools, mini shovels.
 
Nature - Grass with hidden plastic bugs, some small plastic trees.
 
Christmas Themed - Cotton Balls, Plastic ornaments, Christmas Giftboxes, Miniature stockings, Small Plush Santa/Elf, pine cones.
 
Marine Life - Water, Plastic fish, stones, grass.
 
Farm Life - Hay, Small Farm, Farm animals, grass, small trees.
 
Shredded Paper Treasures - Shredded Paper, any small toys, alphabet letters.
 
Extinct Bin - Sand/Dirt, Dinosaurs, grass, plastic eggs, homemade playdough (fossils).
 
I could go on and on about sensory bins for hours, but I won't. As you can see you just use your creative mind, pick a theme, and throw it together in a bin. I like to hide stuff within the makes of the sensory bin, it's much more fun when they have to dig to find stuff.
 

Base Ideas

Finding bases is easy, I promise! You can find them in food sections, body care sections, craft sections, pretty much anywhere. Of course, you have the bases I've listed above, hay, sand/dirt, water, etc., but I'll throw you a few more to get your started.
 
-Any kind of bagged beans
-Pasta Noodles (Food Color Dyed, or not & Any shape or size)
-Marbles
-Any type of rice
-Leaves
-Mardi Gras necklaces
-Shaving Cream
 
Sensory play does not end in bins, it only begins! You can use water bottle with odds and ends in them, filled to the brim with water. Even just taking your children outside to explore nature is developing their senses.
Hope I've inspired you to get creative, and enjoy sensory play with your little ones!


Tuesday, December 18, 2012

Get Creative With Dollar Tree! Part 1

I never thought I would walk into Dollar Tree, and notice the endless creative possibilities. From bath-time fun to everyday crafts and adventures for the little ones. I will be sharing with you all of my families fun moments that have begun off of single dollars.
Some of the items I bought:
-Bubble Bath
-Sponge Shapes
-Foam Shapes
-Food Coloring
-Foam Paper
-Stacking Bins
-Safety Scissors
-Construction Paper
-Glue
-Highlighters(4 pk.)
-Paper Plates
-Crayons (8 Jumbo)
 

Bathtime Fun


For bathtime fun I, of course, used bubble bath. The sponge shapes were used for sensory play in the bathtub. The kids enjoyed squeezing them and watching the sponge waterfalls. The sponges also stuck to the wall, which they thought was awesome. Foam paper when wet also sticks to walls. I wanted to get a large piece of foam paper, so that I could cut out my own shapes. You can cut out face shapes, or pumpkin shapes, or even a christmas tree and then cut out ornaments. The Christmas tree would be awesome this time of year. They could decorate their very own bathtub foam paper Christmas tree. Food coloring can be used to color ice cubes, and put into the bathtub when frozen. Kids love color, and when you drop the cubes into the water it spreads out beautifully. Highlighters believe it or not can be used to make bathwater glow. Be sure to get nontoxic highlighters, so it is safe for the little ones!
 

Paper Plate Crafts

-Paper Plates
-Glue
-Construction Paper
-Scissors
-Crayons
 
These were so fun to make! The little ones got to have their first experience with glue, and scissors. I love that they enjoy crafting! Their little eyes lit up when they realized we were making animals out of paper plates, they couldn't believe it. If you don't feel your kids are ready for scissors or glue, let them color the plates. After they are done coloring, draw a face in black crayon/marker, and just cut out some ears and there you have it, paper plates crafted into animals!

I have so many more Dollar Tree ideas to come, this is only Part 1! Enjoy! ;)


Monday, December 17, 2012

My Favorite Freezer Meals

This is for all you busy moms out there, that sometimes can't find the time in a day to start preparing a meal! I have begun testing freezer meals, because I am one of these moms. Between chasing my two very active toddlers around, keepin' up with the 9 month old I nanny and endless amounts of school work, freezer meals have become my hero. When most people think freezer meals, they think "Gross! How on earth could that be any good?" I know this because I used to be one of those people, any meal kept in the freezer was not going in my stomach. When you have so much to do, and little time to cook, you finally settle for freezer meals. I soon found out, I was not settling, I WAS ENJOYING! I always taste test my freezer meals before they are frozen, and after they have been frozen. Let me tell you...most of them are best reheated after freezing! It is very important to me that my babies enjoy my food, and fill themselves up. They absolutely LOVE these freezer meals, and I don't think I'll ever turn back! I will be freezer mealin' until the day that I am demoted from my busy bee position.


Sausage Quiches

My kids ate this recipe up!
Ingredients:
- 12 oz. sausage, browned (I use Jimmy Dean Maple Sausage)
-1 1/2 Cups Milk
-3/4 Cup Bisquick
-4 Eggs
-1 Cup of Cheddar Cheese
 
Optional Ingredients:
-Onions ([Sauteed or Fresh Cut] Sauteed will just give the quiches flavor and fresh cut gives you a crunchy zest.)
-Green Peppers("  ")
 
The best thing about quiches is you can add pretty much anything, and it will all taste great.
 
Cooking Instructions:
-Brown the sausage in a skillet, and drain grease.
-Preheat the oven to 350 degrees.
-Combine Milk, Bisquick, Eggs, and 1/2 Cup of Cheddar Cheese.
-Pour the mixture into 12 Pam sprayed muffin cups(About 3/4 Full).
-Sprinkle the sausage into each muffin cup. (I usually do some light on sausage, and some heavy)
-Sprinkle the remaining 1/2 cup of cheese on top of the quiches.
-Pop in the oven for about 22 minutes.
 
Freezing Instructions:
-Let the quiches cool completely.
-Flash freeze for one hour if freezing for long periods of time.
-Store in a freezer bag.
Reheat Instructions:
-Reheat for 75 seconds (Single Quiche)
 

Spaghetti Muffin Cups

-1lb. bag of small pasta(I used the mini egg noodles)
-1 lb. of ground beef
-Pasta Sauce(As much as wanted, and I used Mama Rio's)
-Shredded Mozarella & Parmesean
-Green Peppers & Onions (Optional)
 
Cooking Instructions:
-Boil pasta noodles until cooked.
-Brown ground beef, and sautee the green pepper and onion(if using).
-Preheat oven to 350 degrees.
-Mix all of the ingredients together.
-Line muffin tins with foil, and paper liner.
-Scoop the ingredients into 12 muffin cups.
-Pop in the oven for 15 minutes.
 
Hint: You will have leftovers that you can use to make Baked Goulash, another yummy freezer meal.
 
Freezing Instructions:
-Let the Spaghetti Muffin Cups cool, and then freeze.
Tip: Can be stored for up to 2 weeks.
 
Reheating Instructions:
-Remove foil liner, and reheat in the microwave until thawed.
 

Goulash

-Leftover ingredients from Spaghetti Muffin Cups
-1/2 Cup Of Sour Cream
-1/2 Cup Shredded Cheese (Your Choice)
-Salt & Pepper to your liking, and any other seasonings you'd like to thrown in.
- 2 Small Aluminum Baking Tins
 
Prepping Instructions:
-Mix all of the ingredients together, and put in the Aluminum Baking Tins.
-Cover with foil.
 
Freezing Instructions:
-Can be frozen up to a month.
 
Cooking Instructions:
-Bake at 350 degrees.
-If frozen 45-60 minutes, if thawed 20 minutes.
 
 
I hope you enjoy these!


Saturday, December 15, 2012

Christmas Themed Photography Advice Among Some Other Things

I am a very active "pinterester". I found some pictures that I just absolutely loved, and I had the perfect model. Meet Shayleigh, she is the adorable 9 month old that I nanny.
 
Camera: Kodak EasyShare CD82, so for all of you with cameras that are not so high tech, do not fret.
 
Photo Editing Software: PicMonkey Free, and available online. 
 
First photo: I'm sure you guys are wondering why on earth I used orange lights instead of white, which happens to be the norm for these kinds of photos. It just so happens that ALL of our white lights are on display. We have them residing on the tree, stairwell, outside bushes, and posts for the season. The picture still turned out beautiful, and festive. I always edit my photos, but this one was uneditable. It was perfect just the way it was taken.
 
Second Photo: I found some Christmas tree picture advice on Pinterest, and decided to give it a-go. On top of the advice, I have her wearing a small santa hat, and she is sitting inside a red and white stocking. The advice I was given was to set small children off to the side of the tree with natural light coming from behind the tree. Tip: Daytime Christmas tree photos come out with better quality than night time photos. Editing at PicMonkey: I used the Cross Process option, and just added a simple black and white frame.
 
Third Photo:
Again, she is in the stocking and Santa hat, but I just LOVE this picture. I took this picture with natural light behind me. I bent down, and took the picture somewhat above her. For editing I used Cross Process, and the Frost option in their seasonal folder. I added "Happy Holidays!" in the text box, and popped it at the bottom of the photo.


Tomorrow's blog will be featuring some of my picks for freezer meals. Everyone loves time-savers!
 

Tribute

Newton, Connecticut Elementary School Tribute

Before I proceed back to my normal posts, I'd like to send my prayers out to the families of the victims of this heartbreaking event. Cherish your loved ones, because this Christmas some families have had that and more taken away from them. The happenings of December 14th are absolutely heart shattering. I can not even begin to understand or feel the pain these families are suffering through. This is the time of year where families should be coming together, not being ripped apart. I am praying for the strength of these families as they struggle through this time. To all the brave souls that were taken on December 14th, your memory lives on. Although, I know not all the money in the world could replace a loved one, the following facilities are accepting donations to help the families through this trying time:

Newton Parent Connection

This nonprofit organization is trying to bring in more couselors for the grieving family and friends of the community.
 

Sandy Hook Relief Fund

Besides the cost of processing, and accepting the donations, this fund donates 100 percent of the proceeds to the families in need. If you don't feel comfortable donating, and afraid of your money outside of the hands of the families of the victims, this site offers it's credentials. This site has been responsible for large donations to aid Haiti, Hurricane Sandy Relief, and 9/11.
 
The lives that were taken will never be forgotten. After doing some more research on the event, I have heard many stories about Victoria Soto. Although each story is different, I believe she is a hero in everyones eyes. Anyone who will shield someone's life is a hero. She sacrificed her life for that of her students, and that is truly amazing.

Victoria Soto -- A Dedicated Educator


WALK 27
As the picture states this is a Global Event.
Me and my two babies will be walking in Charlotte, NC.
There is no designated spot to walk,
just walk in the memory of those in Newton, CT.
 

Tuesday, December 11, 2012

Organization & Dinosaur Fossils

Organization Is Key

Organization is not one of my strong points, but I am trying.


Today I decided to gather up a box of the kids "smaller" toys. On top of Christmas nearing, I am tired of the tiny toys collecting in every empty space on the floor. I have decided to pull this box of toys out once a month, for them to just go at it. That gets rid of a plethora of toys for 98% of the month. Also, in getting rid of this clutter, the kids will get excited once a month for toys they have not seen in awhile.
In our box:
-A farm, with farm animals and a cowboy
-Garanimals Blocks
-Teeny Tiny Dinosaurs
-Miscellaneous random odds & ends toys

On top of ridding of some toy clutter, I cleaned my bathroom spotless [even the floors;)], cleaned out the kids wardrobes [for the 4th time within a month], got rid of some stuff that wasn't being used. I felt pretty productive today.
 

{Play Dough}

Rewind to my posts about how to make play dough, and the fun we had.
The play dough fun is about to get really interesting. I have come across a cute idea on how to make dinosaur fossils. Of course our play dough is nearing it's end anyways, so why not turn it into something else? There is nothing like recycling!
You will need:
Small Dinosaurs
Play dough(of course)

Instructions:
Roll the play dough out, and place the dinosaur on its side and push down.
Depending on the age of the child, you can roll it out, and let them push the dinosaur down.
Let the playdough sit overnight, and there you have it dinosaur fossils!
In the process of making the fossils.
I let him push them down and then I cut around the dinosaurs with a butter knife.
Natalie pushed hers down so hard that when I pulled them off the play dough was still stuck to the dinosaur. Needless to say, with children under 3, supervise the pushing technique.
 
 
After the butterknife fail.
Even though they don't look clean cut, what fossil is?
I know Ian will be very proud of his fossils.
I can't wait to see the turn out tomorrow morning.


Bieber Is Back!

Bieber is our Elf on the Shelf. We began this tradition last year. Last year Bieber road in on a reindeer, read some books, spilled toothpaste in the sink, hung jingle bells on the toilet, brought a sign from the North Pole, brought some delicious reindeer poop(M&M's, Peanut Butter Crunch, or just anything you can find), ziplined on some streamer, road a triceratops, and I could go on for 25 days.
This year Bieber is going to get in some major trouble! The kids are gonna love it. :) For all you sneak-peekers, this is what the babies will be waking up to in the mornin':
 
Bieber has TP'd the tree!
Lord knows, what am I gonna do with this mischievious elf?
He is just too much.
 
Well this busy mom is off to turn in some assignments, and get prepared for another busy day.
Goodnight all!


Monday, December 10, 2012

Sensory Play - Finger Painting Outcome

Finger Painting Fun

 
Ian & Natalie beginning the fun. We didn't have smocks, so we used old t-shirts. :)
 
The kids, Buggy, and I finger painting. Natalie was afraid to touch it, she doesn't much care for squishy stuff.
 
This would be Ian when the beginning of the fingerpaint fight began.
 

Outside Fun

I love action shots!
My little man kickin' a ball:)
 
I believe the ball is bigger than her, haha!
 
Being little miss model
 
Yet another action shot! Gotta love him, so much energy.
 
My little ones love embracing nature.
Being outside allows them to get their "wiggles" out.
 

Saturday, December 8, 2012

Day #6 Of Sanity

Photoshoot

@Picture Me Studios
Photographer: Lauren Sumpter-Faulks

 
Both of my beautiful babies
 
Me & my beautiful little ones
 
Beautiful babies with their Nana
 
 
Made sure I got two pictures made with my beautiful little ones
 
My handsome little man, such a model.
 
My beautiful baby girl. This was one of the few cooperative moments.
 
Precious moments:)
 
For tomorrow's insanity we will be indulging in homemade finger paint fun, shared with us by Ragu Marino.
 

Homemade Finger Paint Recipe

-1/2 Cup Corn Starch
-3 Tablespoons Sugar
-1/2 Teaspoon Salt
-2 Cups of Water
 
When it's perfectly thickened you will start to see odd clumps, remove it from heat and stir.
 
This is definitely a trial and error recipe.
 
Finger paint turn out:) If you can't tell the orange & the teal in the back are our first batch. We made them a bit to thick.
 
Tomorrow the fun begins!


Sunday, December 2, 2012

Day #5 Of Sanity

 
The salt dough ornaments were a beautiful success, and I think everyone will enjoy receiving homemade gifts from the babies this year.

The process:

-Food Coloring mixed with water for safe painting due to the little ones:)
-Leftover paint from Halloween pumpkins
-5 paintbrushes of varying sizes
-2 cups of water to rinse the paintbrushes in
-Markers
 
Excited over the effect of the food coloring on the salt dough ornaments.
 
Painting her reindeer.
 
Hard at work!
 
Concentration mode.

The outcome:

This is only a few of the 31 ornaments that were made.
A few of the ornaments were broke in the process, but the babies had loads of fun painting.
 
We ended our day with a park trip.
The lil ones were surprisingly cooperative during picture time.
 

"Our past may change as life goes on, but the bond between us remains ever strong."
 

"It was nice growing up with someone like you. Someone to lean on, someone to count on, and someone to tell on."
 
"There's no buddy like a brother."
 

"The best thing about having a sister was that I always had a friend."
 
"Someone who hides my toys,
and breaks my dolls,
but he picks me up whenever I fall.
Someone who stands by my side,
and holds my hand.
When things don't go well
he helps me understand.
Someone who makes funny faces
to see how I'd react.
I love my brother,
and that's a fact."
 

Bonding with nature
 
Sometimes they will pose when you least expect it. :)