
Saturday, December 15, 2012

Christmas Themed Photography Advice Among Some Other Things

I am a very active "pinterester". I found some pictures that I just absolutely loved, and I had the perfect model. Meet Shayleigh, she is the adorable 9 month old that I nanny.
 
Camera: Kodak EasyShare CD82, so for all of you with cameras that are not so high tech, do not fret.
 
Photo Editing Software: PicMonkey Free, and available online. 
 
First photo: I'm sure you guys are wondering why on earth I used orange lights instead of white, which happens to be the norm for these kinds of photos. It just so happens that ALL of our white lights are on display. We have them residing on the tree, stairwell, outside bushes, and posts for the season. The picture still turned out beautiful, and festive. I always edit my photos, but this one was uneditable. It was perfect just the way it was taken.
 
Second Photo: I found some Christmas tree picture advice on Pinterest, and decided to give it a-go. On top of the advice, I have her wearing a small santa hat, and she is sitting inside a red and white stocking. The advice I was given was to set small children off to the side of the tree with natural light coming from behind the tree. Tip: Daytime Christmas tree photos come out with better quality than night time photos. Editing at PicMonkey: I used the Cross Process option, and just added a simple black and white frame.
 
Third Photo:
Again, she is in the stocking and Santa hat, but I just LOVE this picture. I took this picture with natural light behind me. I bent down, and took the picture somewhat above her. For editing I used Cross Process, and the Frost option in their seasonal folder. I added "Happy Holidays!" in the text box, and popped it at the bottom of the photo.


Tomorrow's blog will be featuring some of my picks for freezer meals. Everyone loves time-savers!
 

Tribute

Newton, Connecticut Elementary School Tribute

Before I proceed back to my normal posts, I'd like to send my prayers out to the families of the victims of this heartbreaking event. Cherish your loved ones, because this Christmas some families have had that and more taken away from them. The happenings of December 14th are absolutely heart shattering. I can not even begin to understand or feel the pain these families are suffering through. This is the time of year where families should be coming together, not being ripped apart. I am praying for the strength of these families as they struggle through this time. To all the brave souls that were taken on December 14th, your memory lives on. Although, I know not all the money in the world could replace a loved one, the following facilities are accepting donations to help the families through this trying time:

Newton Parent Connection

This nonprofit organization is trying to bring in more couselors for the grieving family and friends of the community.
 

Sandy Hook Relief Fund

Besides the cost of processing, and accepting the donations, this fund donates 100 percent of the proceeds to the families in need. If you don't feel comfortable donating, and afraid of your money outside of the hands of the families of the victims, this site offers it's credentials. This site has been responsible for large donations to aid Haiti, Hurricane Sandy Relief, and 9/11.
 
The lives that were taken will never be forgotten. After doing some more research on the event, I have heard many stories about Victoria Soto. Although each story is different, I believe she is a hero in everyones eyes. Anyone who will shield someone's life is a hero. She sacrificed her life for that of her students, and that is truly amazing.

Victoria Soto -- A Dedicated Educator


WALK 27
As the picture states this is a Global Event.
Me and my two babies will be walking in Charlotte, NC.
There is no designated spot to walk,
just walk in the memory of those in Newton, CT.
 

Tuesday, December 11, 2012

Organization & Dinosaur Fossils

Organization Is Key

Organization is not one of my strong points, but I am trying.


Today I decided to gather up a box of the kids "smaller" toys. On top of Christmas nearing, I am tired of the tiny toys collecting in every empty space on the floor. I have decided to pull this box of toys out once a month, for them to just go at it. That gets rid of a plethora of toys for 98% of the month. Also, in getting rid of this clutter, the kids will get excited once a month for toys they have not seen in awhile.
In our box:
-A farm, with farm animals and a cowboy
-Garanimals Blocks
-Teeny Tiny Dinosaurs
-Miscellaneous random odds & ends toys

On top of ridding of some toy clutter, I cleaned my bathroom spotless [even the floors;)], cleaned out the kids wardrobes [for the 4th time within a month], got rid of some stuff that wasn't being used. I felt pretty productive today.
 

{Play Dough}

Rewind to my posts about how to make play dough, and the fun we had.
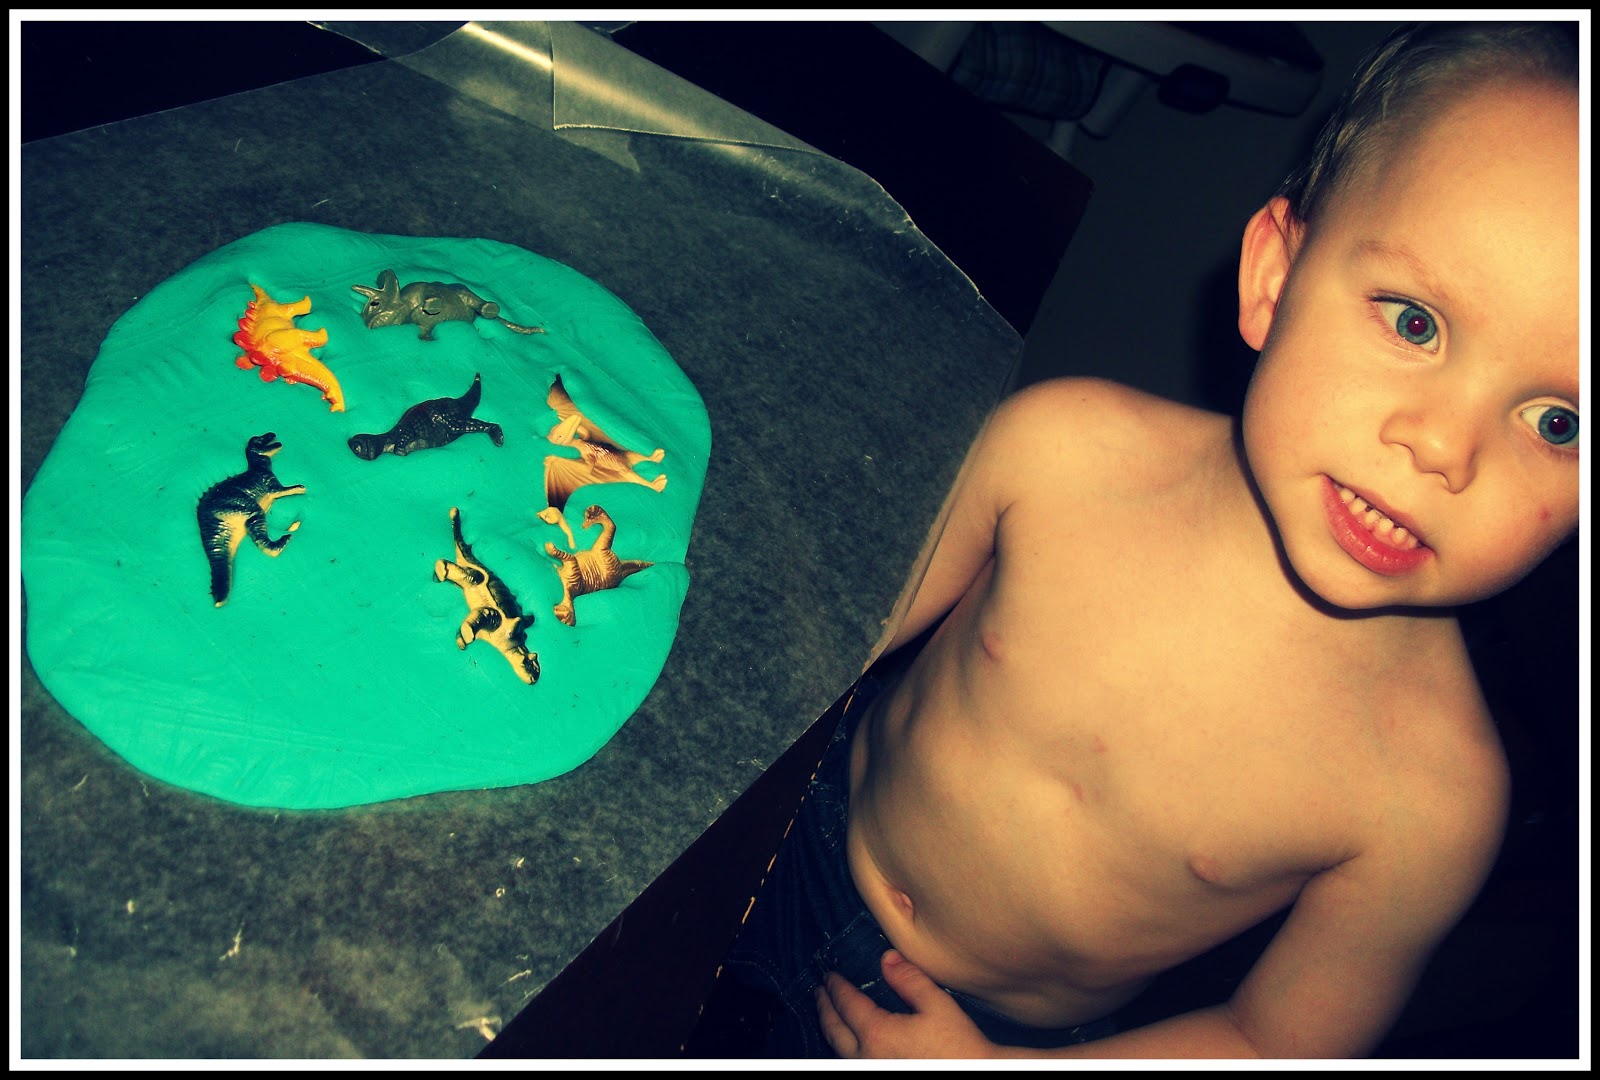
The play dough fun is about to get really interesting. I have come across a cute idea on how to make dinosaur fossils. Of course our play dough is nearing it's end anyways, so why not turn it into something else? There is nothing like recycling!
You will need:
Small Dinosaurs
Play dough(of course)

Instructions:
Roll the play dough out, and place the dinosaur on its side and push down.
Depending on the age of the child, you can roll it out, and let them push the dinosaur down.
Let the playdough sit overnight, and there you have it dinosaur fossils!
In the process of making the fossils.
I let him push them down and then I cut around the dinosaurs with a butter knife.
Natalie pushed hers down so hard that when I pulled them off the play dough was still stuck to the dinosaur. Needless to say, with children under 3, supervise the pushing technique.
 
 
After the butterknife fail.
Even though they don't look clean cut, what fossil is?
I know Ian will be very proud of his fossils.
I can't wait to see the turn out tomorrow morning.


Bieber Is Back!

Bieber is our Elf on the Shelf. We began this tradition last year. Last year Bieber road in on a reindeer, read some books, spilled toothpaste in the sink, hung jingle bells on the toilet, brought a sign from the North Pole, brought some delicious reindeer poop(M&M's, Peanut Butter Crunch, or just anything you can find), ziplined on some streamer, road a triceratops, and I could go on for 25 days.
This year Bieber is going to get in some major trouble! The kids are gonna love it. :) For all you sneak-peekers, this is what the babies will be waking up to in the mornin':
 
Bieber has TP'd the tree!
Lord knows, what am I gonna do with this mischievious elf?
He is just too much.
 
Well this busy mom is off to turn in some assignments, and get prepared for another busy day.
Goodnight all!


Monday, December 10, 2012

Sensory Play - Finger Painting Outcome

Finger Painting Fun

 
Ian & Natalie beginning the fun. We didn't have smocks, so we used old t-shirts. :)
 
The kids, Buggy, and I finger painting. Natalie was afraid to touch it, she doesn't much care for squishy stuff.
 
This would be Ian when the beginning of the fingerpaint fight began.
 

Outside Fun

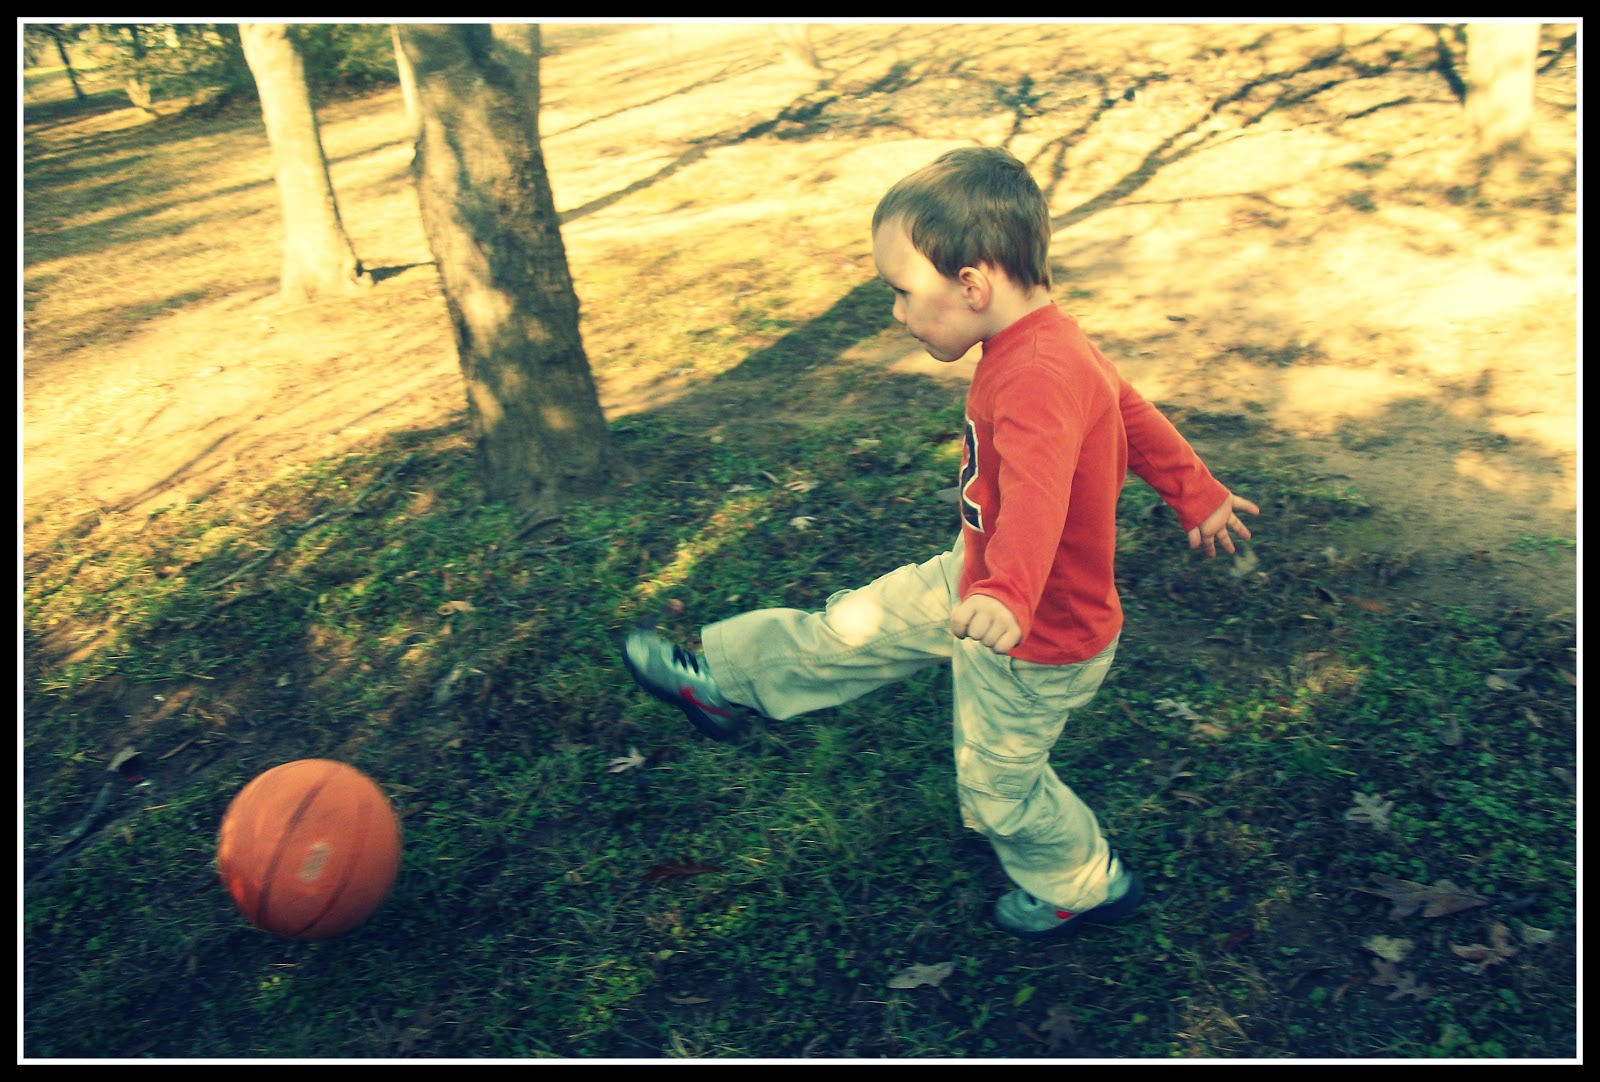
I love action shots!
My little man kickin' a ball:)
 
I believe the ball is bigger than her, haha!
 
Being little miss model
 
Yet another action shot! Gotta love him, so much energy.
 
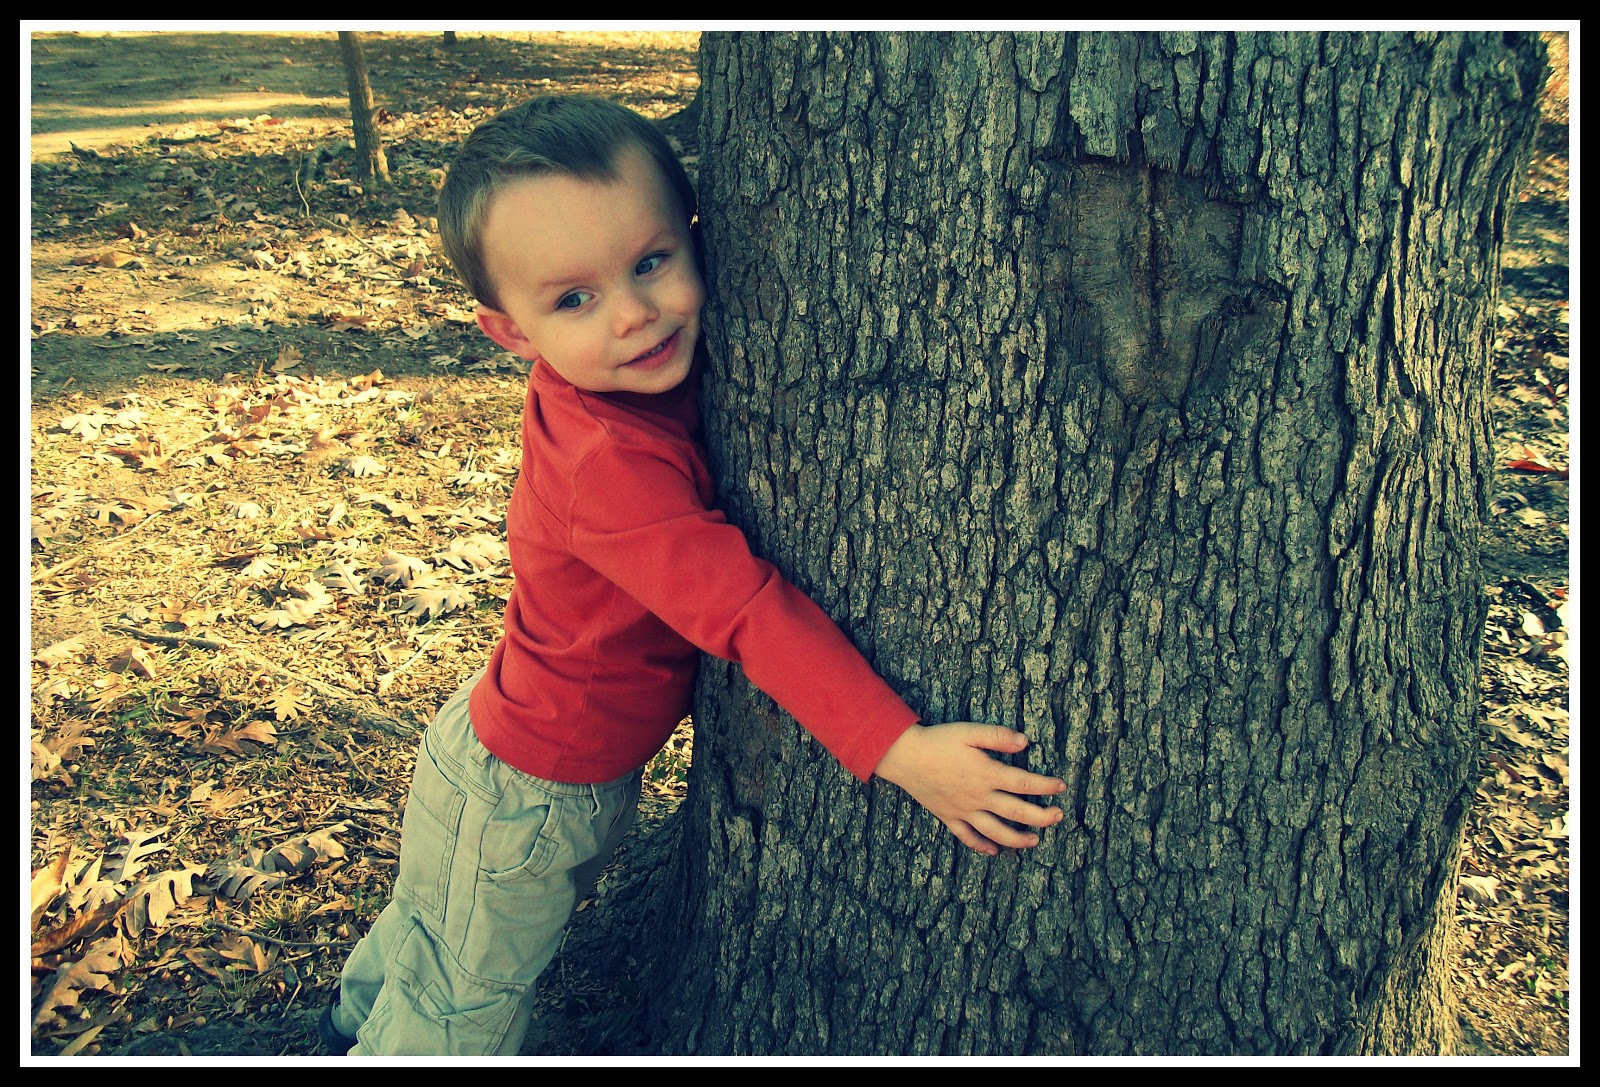
My little ones love embracing nature.
Being outside allows them to get their "wiggles" out.
 

Saturday, December 8, 2012

Day #6 Of Sanity

Photoshoot

@Picture Me Studios
Photographer: Lauren Sumpter-Faulks

 
Both of my beautiful babies
 
Me & my beautiful little ones
 
Beautiful babies with their Nana
 
 
Made sure I got two pictures made with my beautiful little ones
 
My handsome little man, such a model.
 
My beautiful baby girl. This was one of the few cooperative moments.
 
Precious moments:)
 
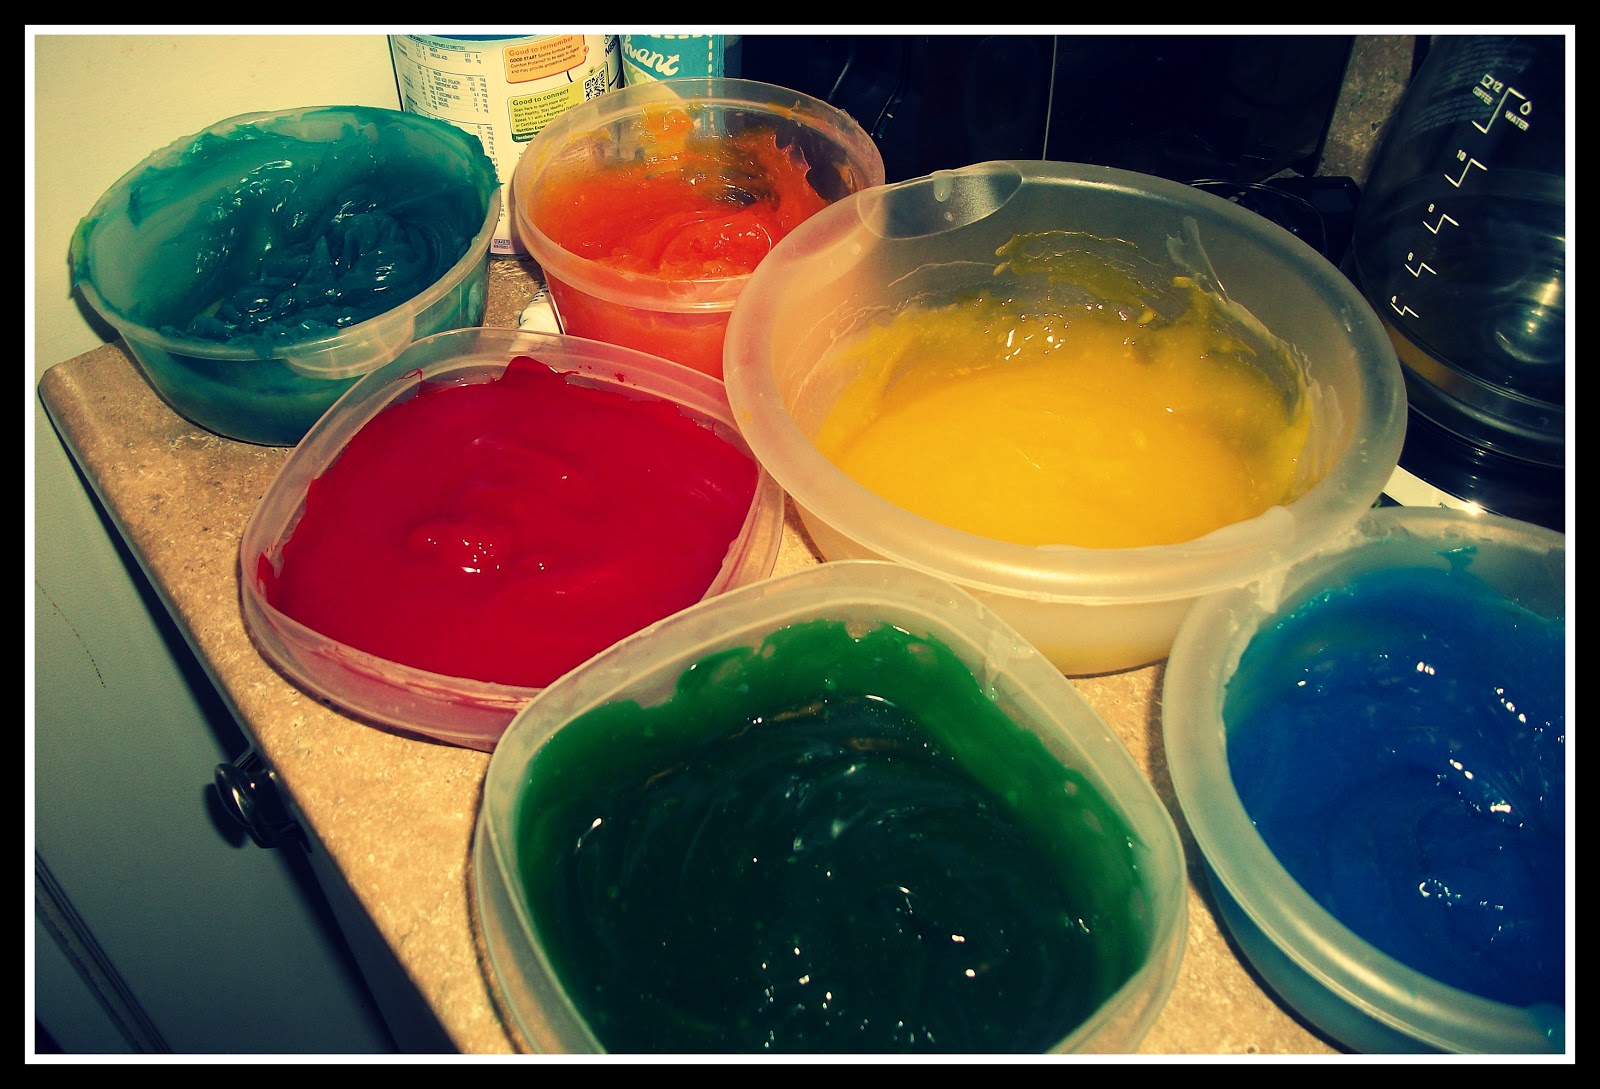
For tomorrow's insanity we will be indulging in homemade finger paint fun, shared with us by Ragu Marino.
 

Homemade Finger Paint Recipe

-1/2 Cup Corn Starch
-3 Tablespoons Sugar
-1/2 Teaspoon Salt
-2 Cups of Water
 
When it's perfectly thickened you will start to see odd clumps, remove it from heat and stir.
 
This is definitely a trial and error recipe.
 
Finger paint turn out:) If you can't tell the orange & the teal in the back are our first batch. We made them a bit to thick.
 
Tomorrow the fun begins!


Sunday, December 2, 2012

Day #5 Of Sanity

 
The salt dough ornaments were a beautiful success, and I think everyone will enjoy receiving homemade gifts from the babies this year.

The process:

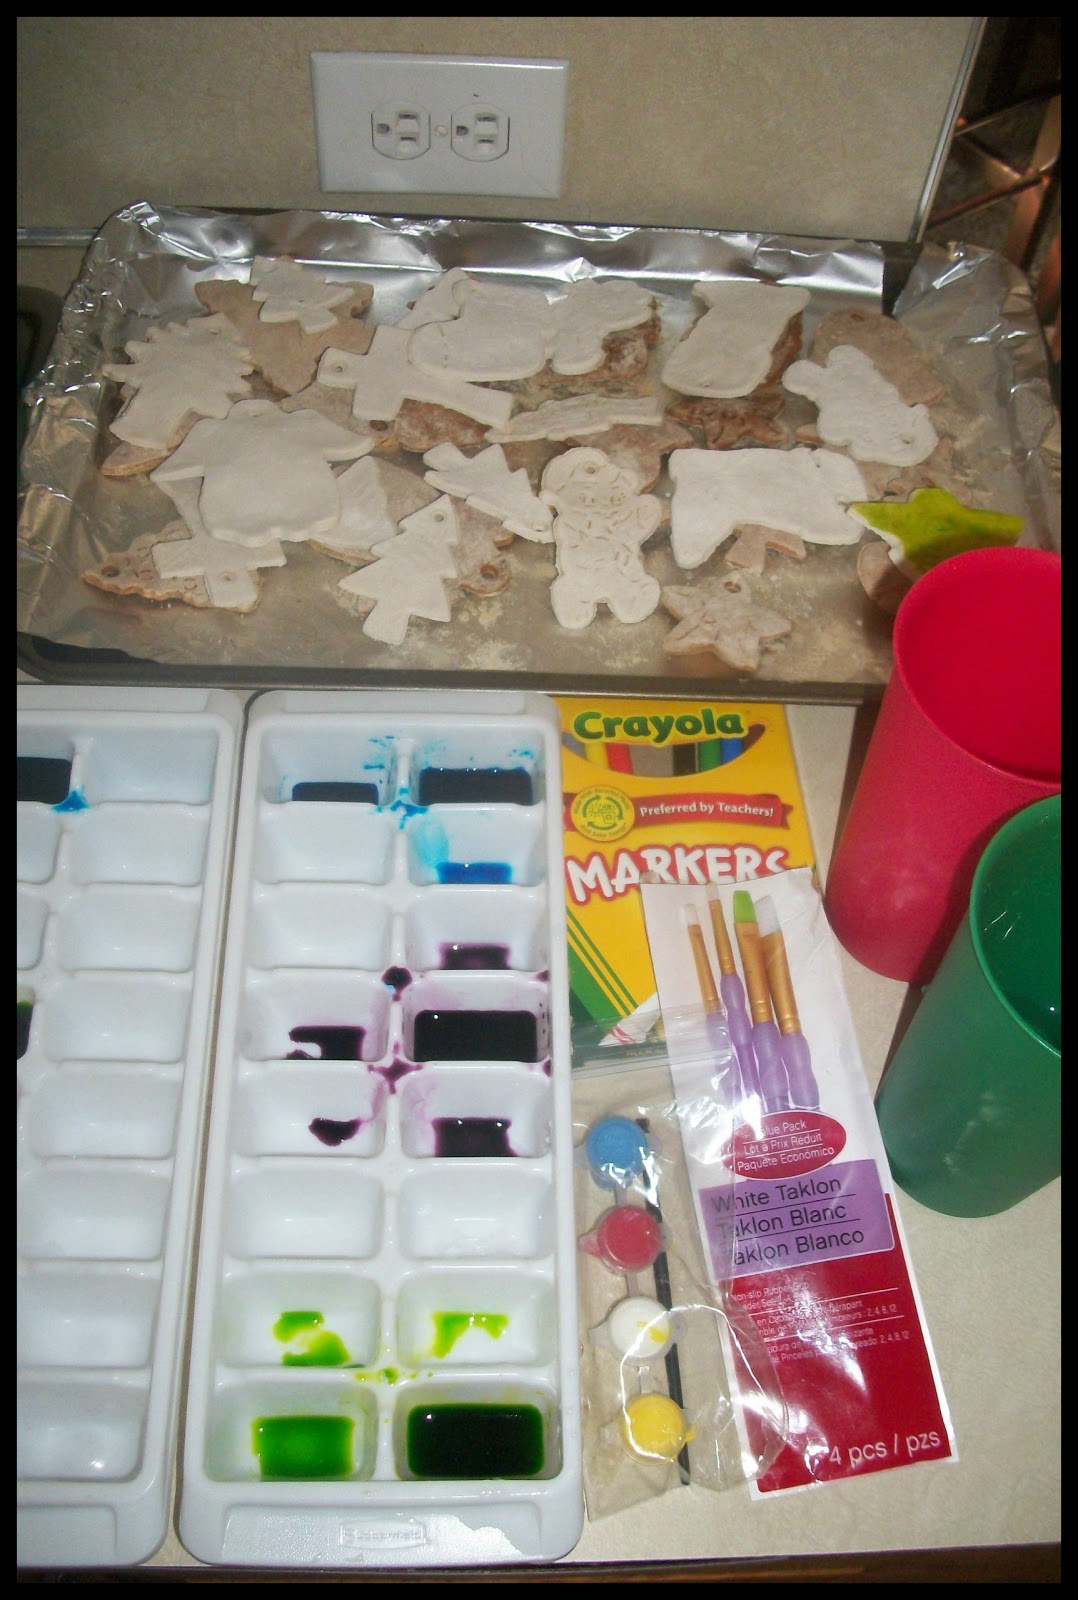
-Food Coloring mixed with water for safe painting due to the little ones:)
-Leftover paint from Halloween pumpkins
-5 paintbrushes of varying sizes
-2 cups of water to rinse the paintbrushes in
-Markers
 
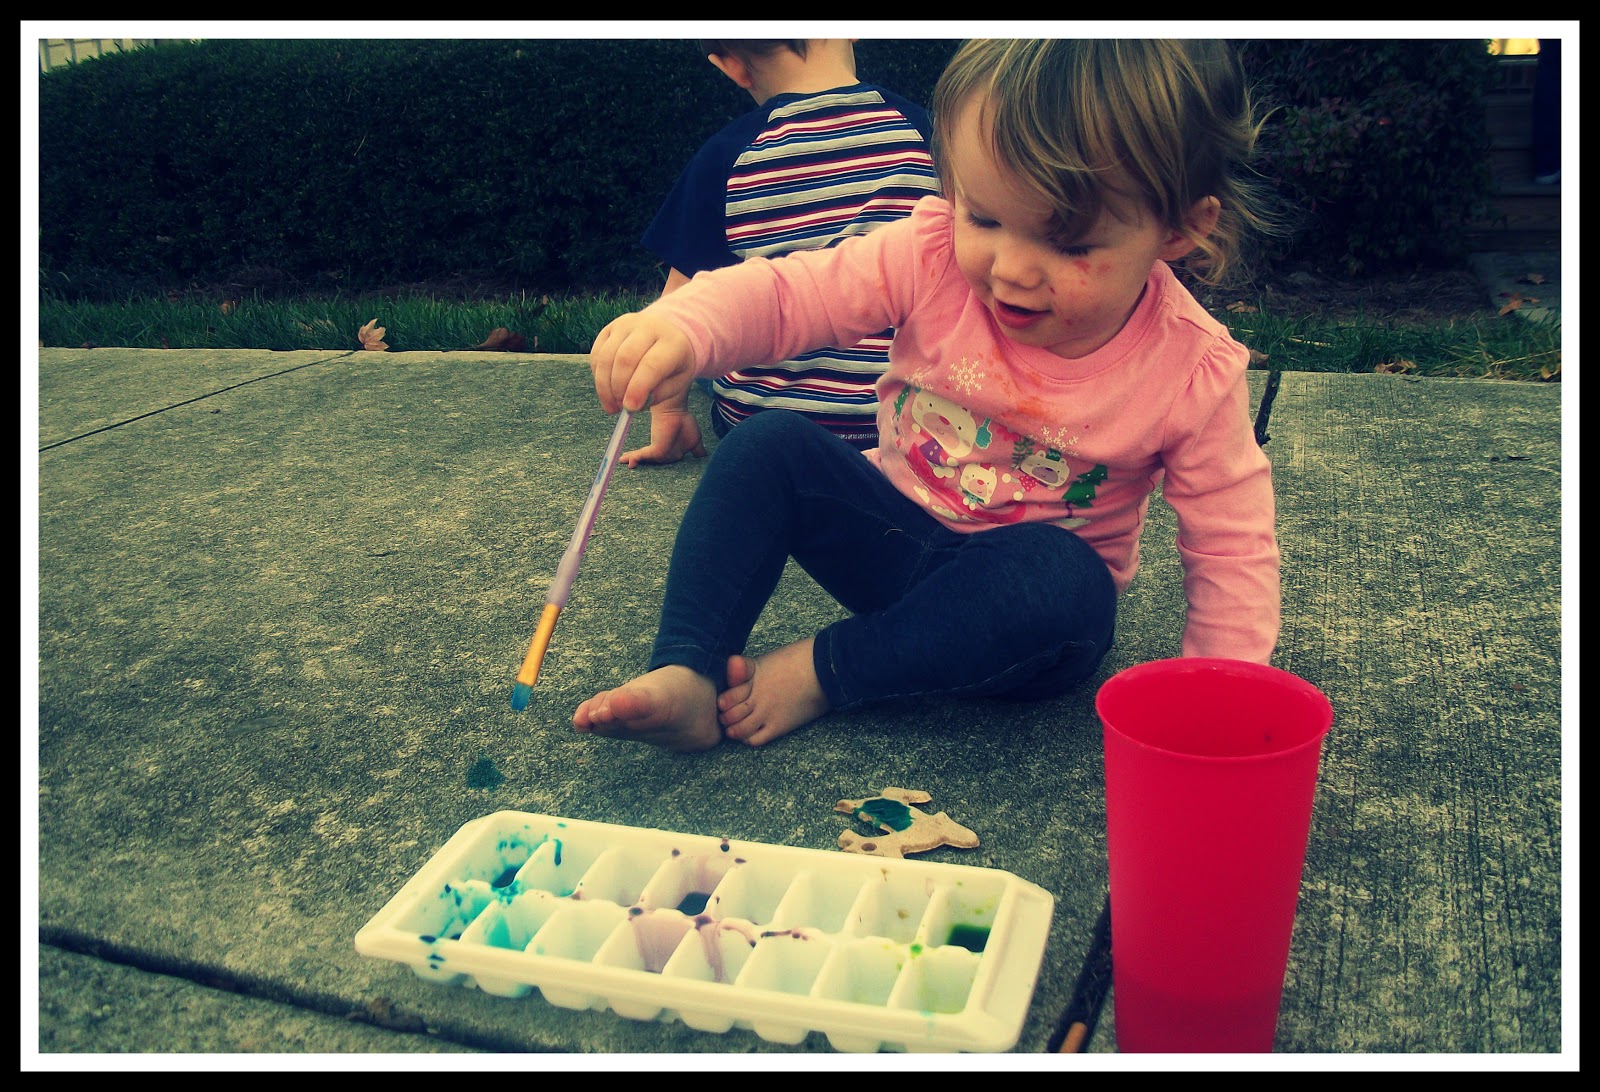
Excited over the effect of the food coloring on the salt dough ornaments.
 
Painting her reindeer.
 
Hard at work!
 
Concentration mode.

The outcome:

This is only a few of the 31 ornaments that were made.
A few of the ornaments were broke in the process, but the babies had loads of fun painting.
 
We ended our day with a park trip.
The lil ones were surprisingly cooperative during picture time.
 

"Our past may change as life goes on, but the bond between us remains ever strong."
 

"It was nice growing up with someone like you. Someone to lean on, someone to count on, and someone to tell on."
 
"There's no buddy like a brother."
 

"The best thing about having a sister was that I always had a friend."
 
"Someone who hides my toys,
and breaks my dolls,
but he picks me up whenever I fall.
Someone who stands by my side,
and holds my hand.
When things don't go well
he helps me understand.
Someone who makes funny faces
to see how I'd react.
I love my brother,
and that's a fact."
 

Bonding with nature
 
Sometimes they will pose when you least expect it. :)


Saturday, December 1, 2012

Day #4 Of Sanity


I am officially insane for posting a blog at 1:07 AM.
 
Ian started out night off roasting marshmallows for our "smore experience".
He was the perfect marshmallow roaster.


Ian's reaction to the complete smore after the roasting of marshmallows.
 
 
Natalie & her Aunt Jessica
 
We completed our night with Salt Dough Ornaments.
Ingredients:
-4 cups of All Purpose Flour
-1 cup salt
-1 1/2 Cups of Water
 
Mix the dry ingredients(Salt & Flour) well.
 
Gradually pour water into the flour & salt mixture while mixing with a spoon.
Finish kneading with your hands.
 
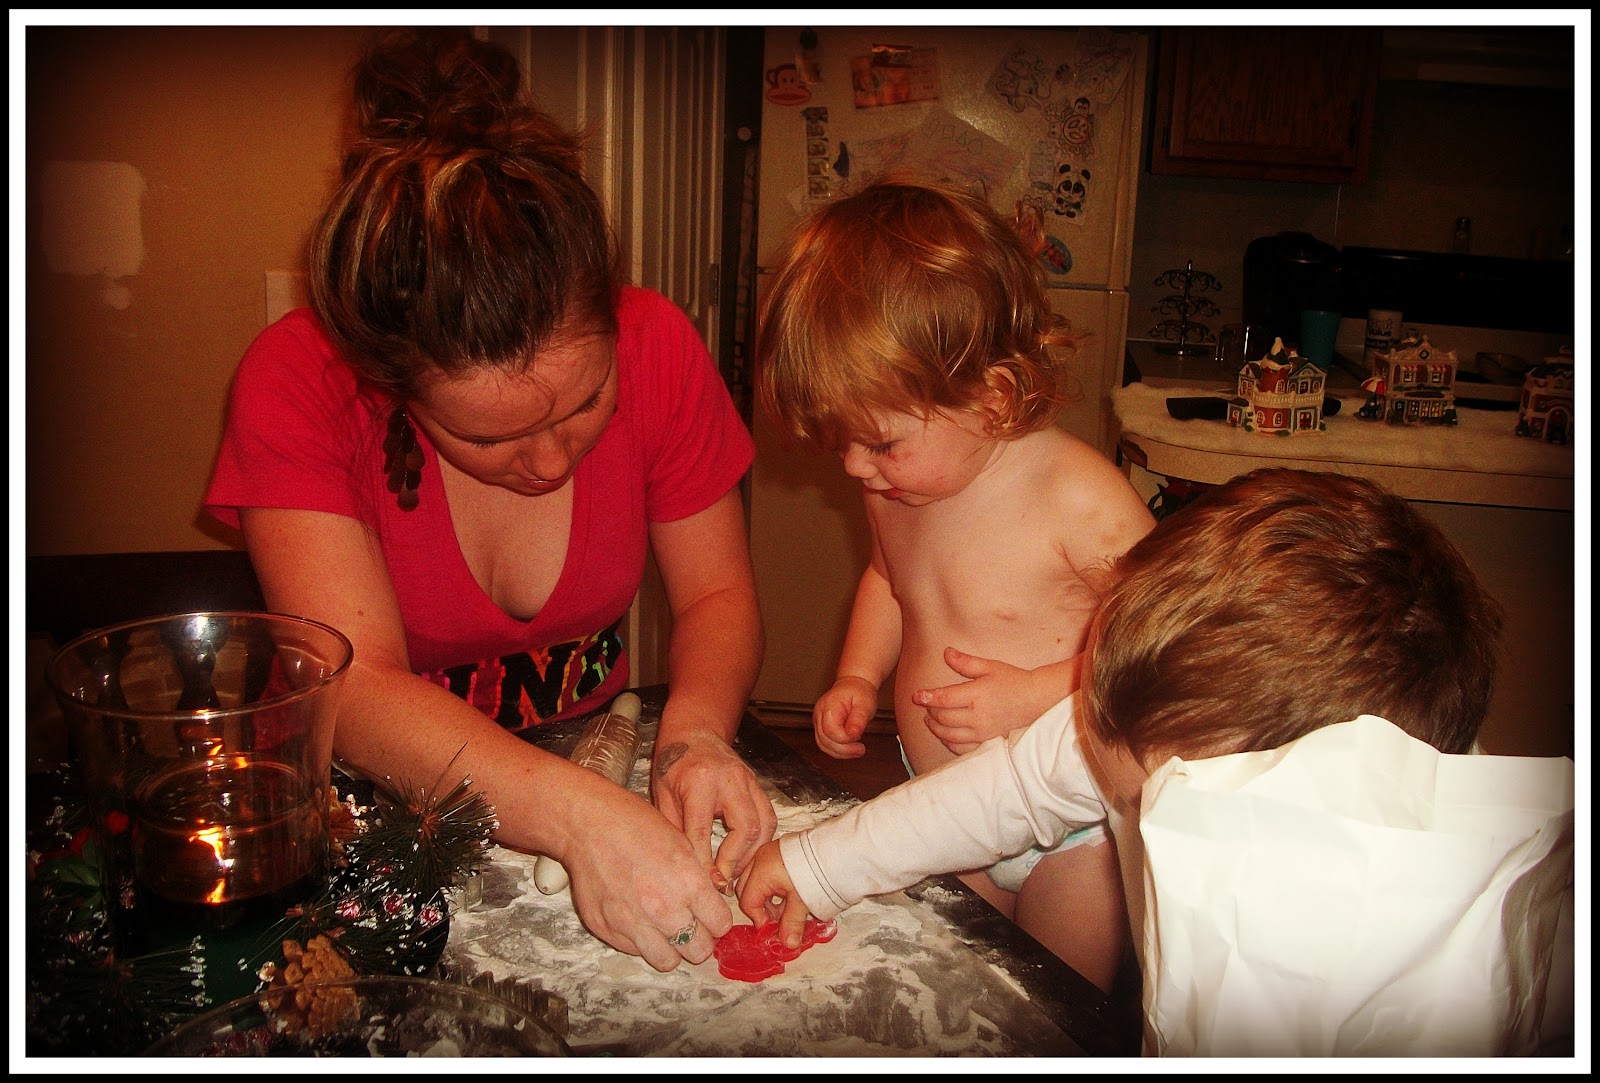
Roll the dough out to about 1/8th inch thick, and apply the cookie cutters to shape your ornaments. :)
This is the fun part.
 
 
Let the kids have at it!
 
One thing I cannot stand are false oven directions! I was informed to set the oven to 325 degrees, and let the ornaments cook for an hour. My first batch came out puffy, and some even had a burnt look. Thank goodness I had a second batch! I left the oven settings at 325, and let them cook inbetween 15 & 20 minutes, and they came out perfect.
 
 
 For tomorrow's sanity we shall paint the ornaments outside. :)